This weekend, we finally had our new couch delivered. (We ordered it in October.)
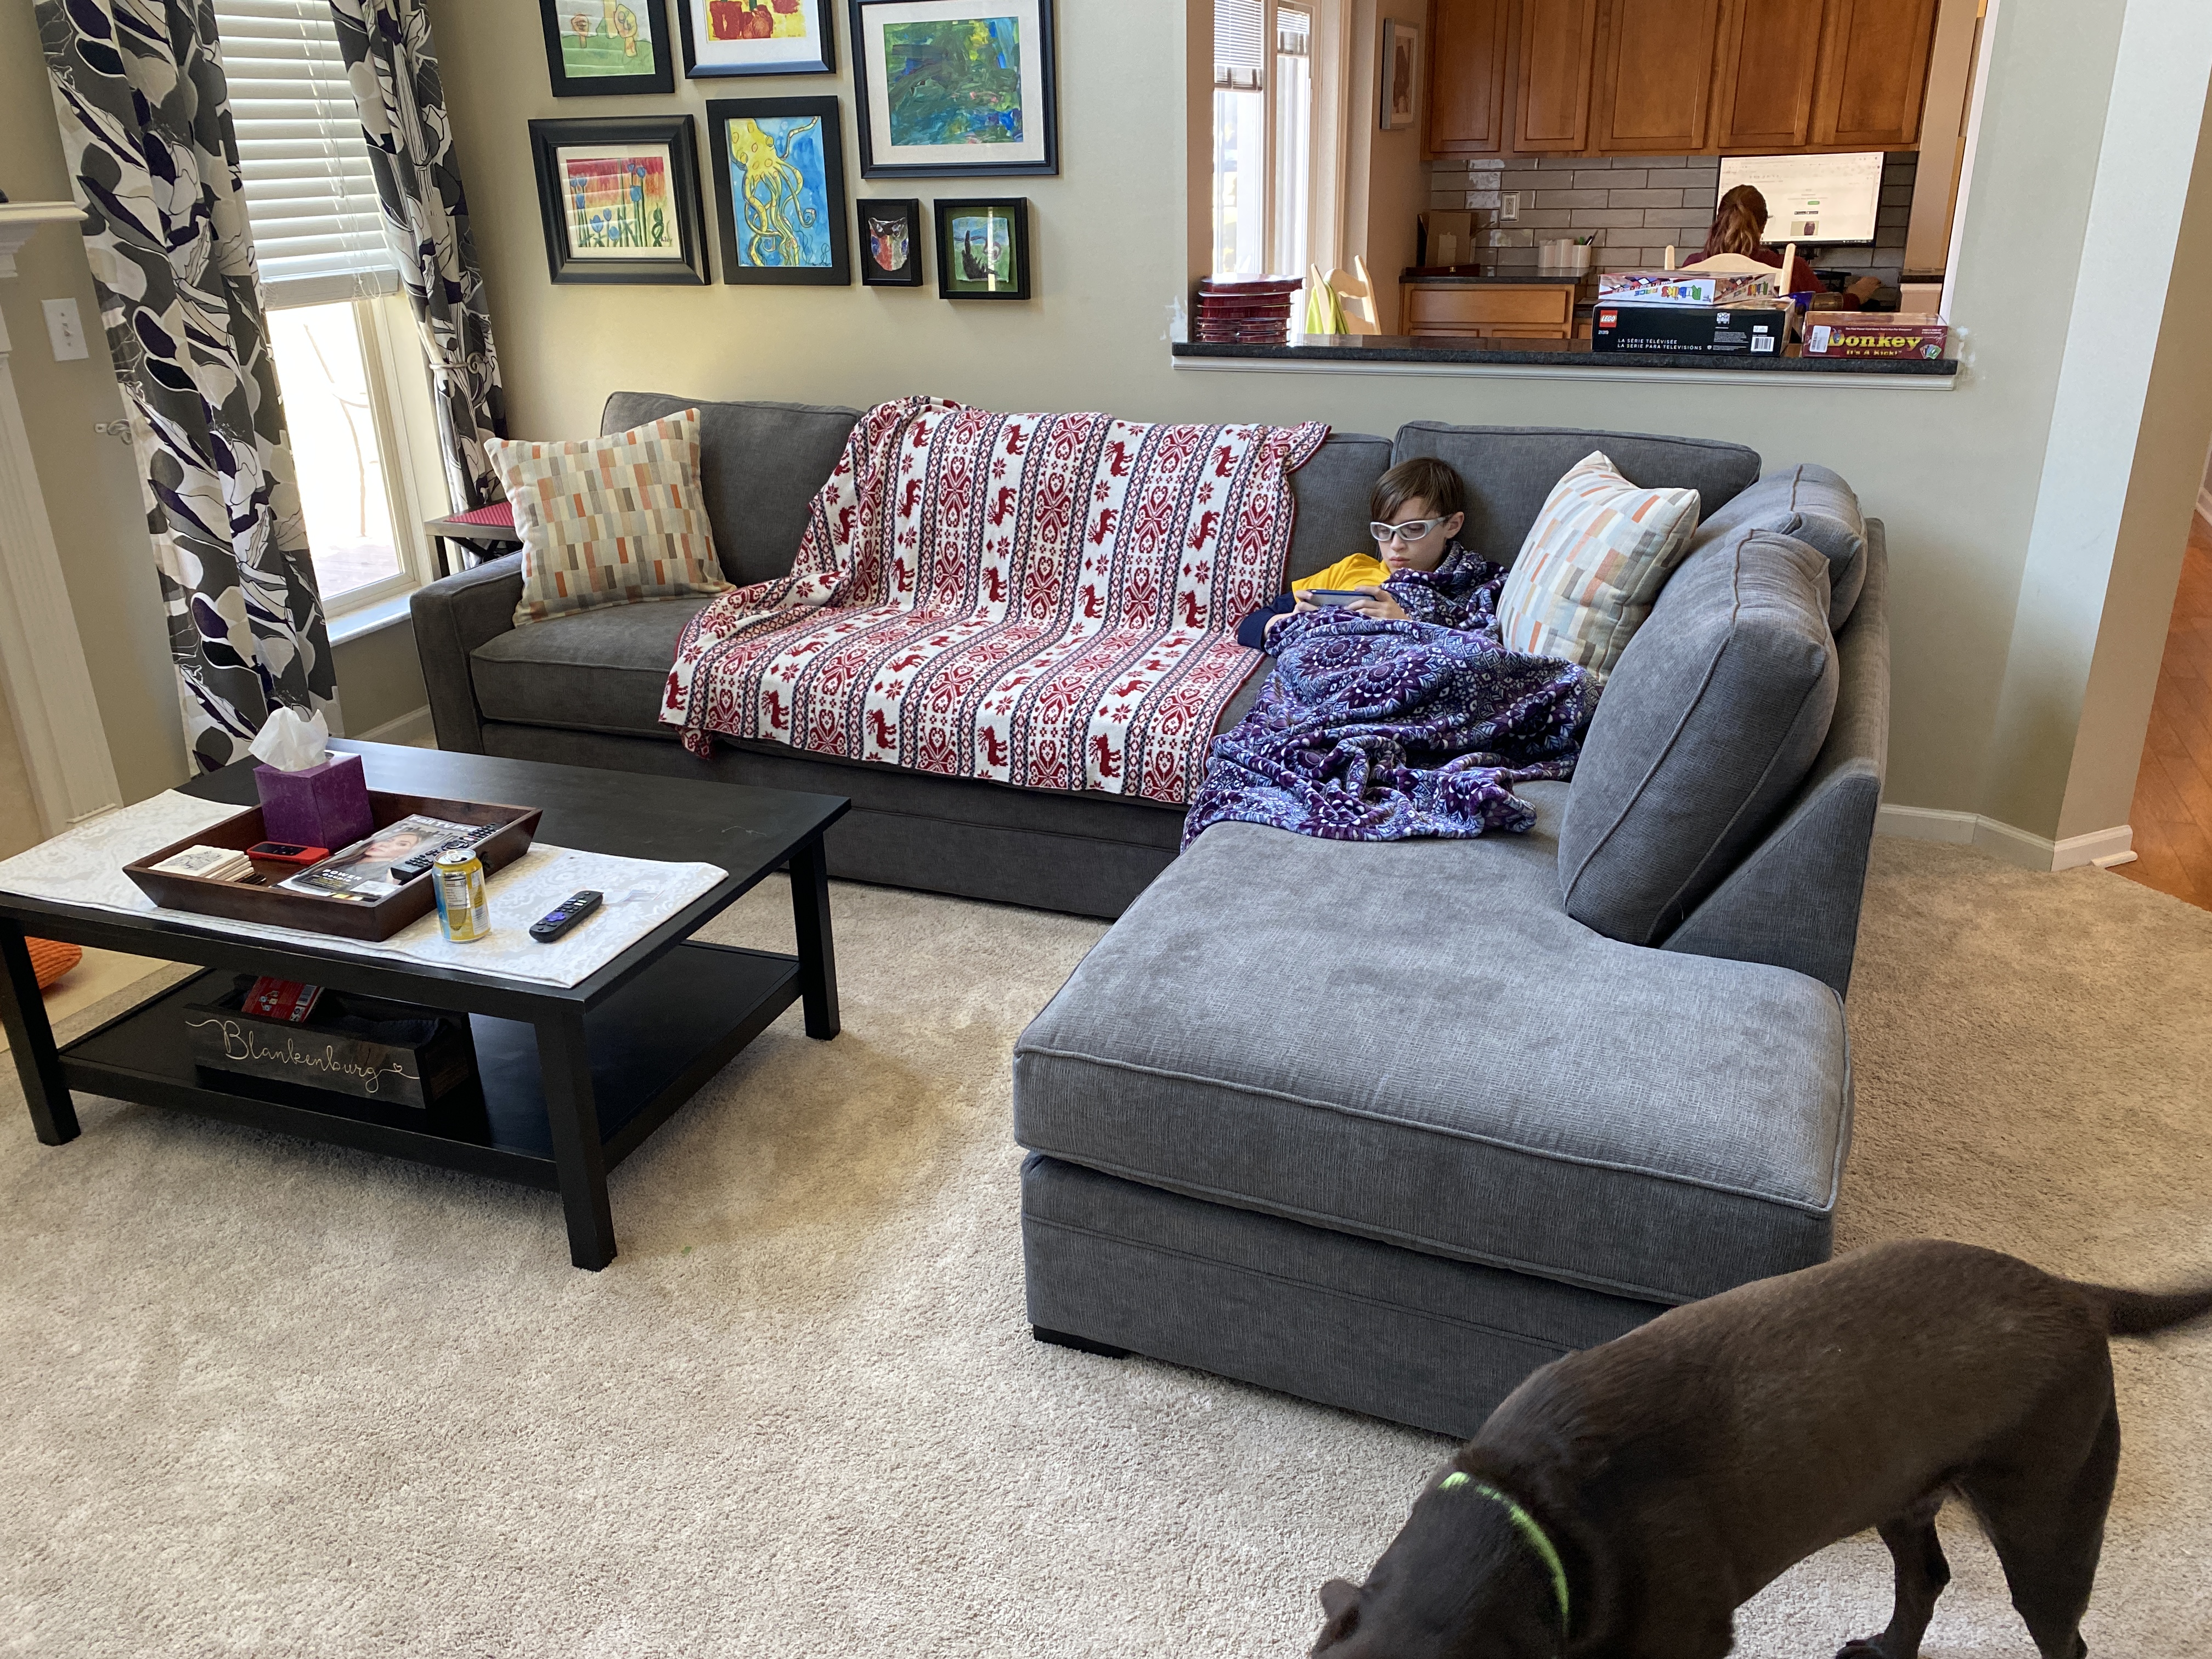
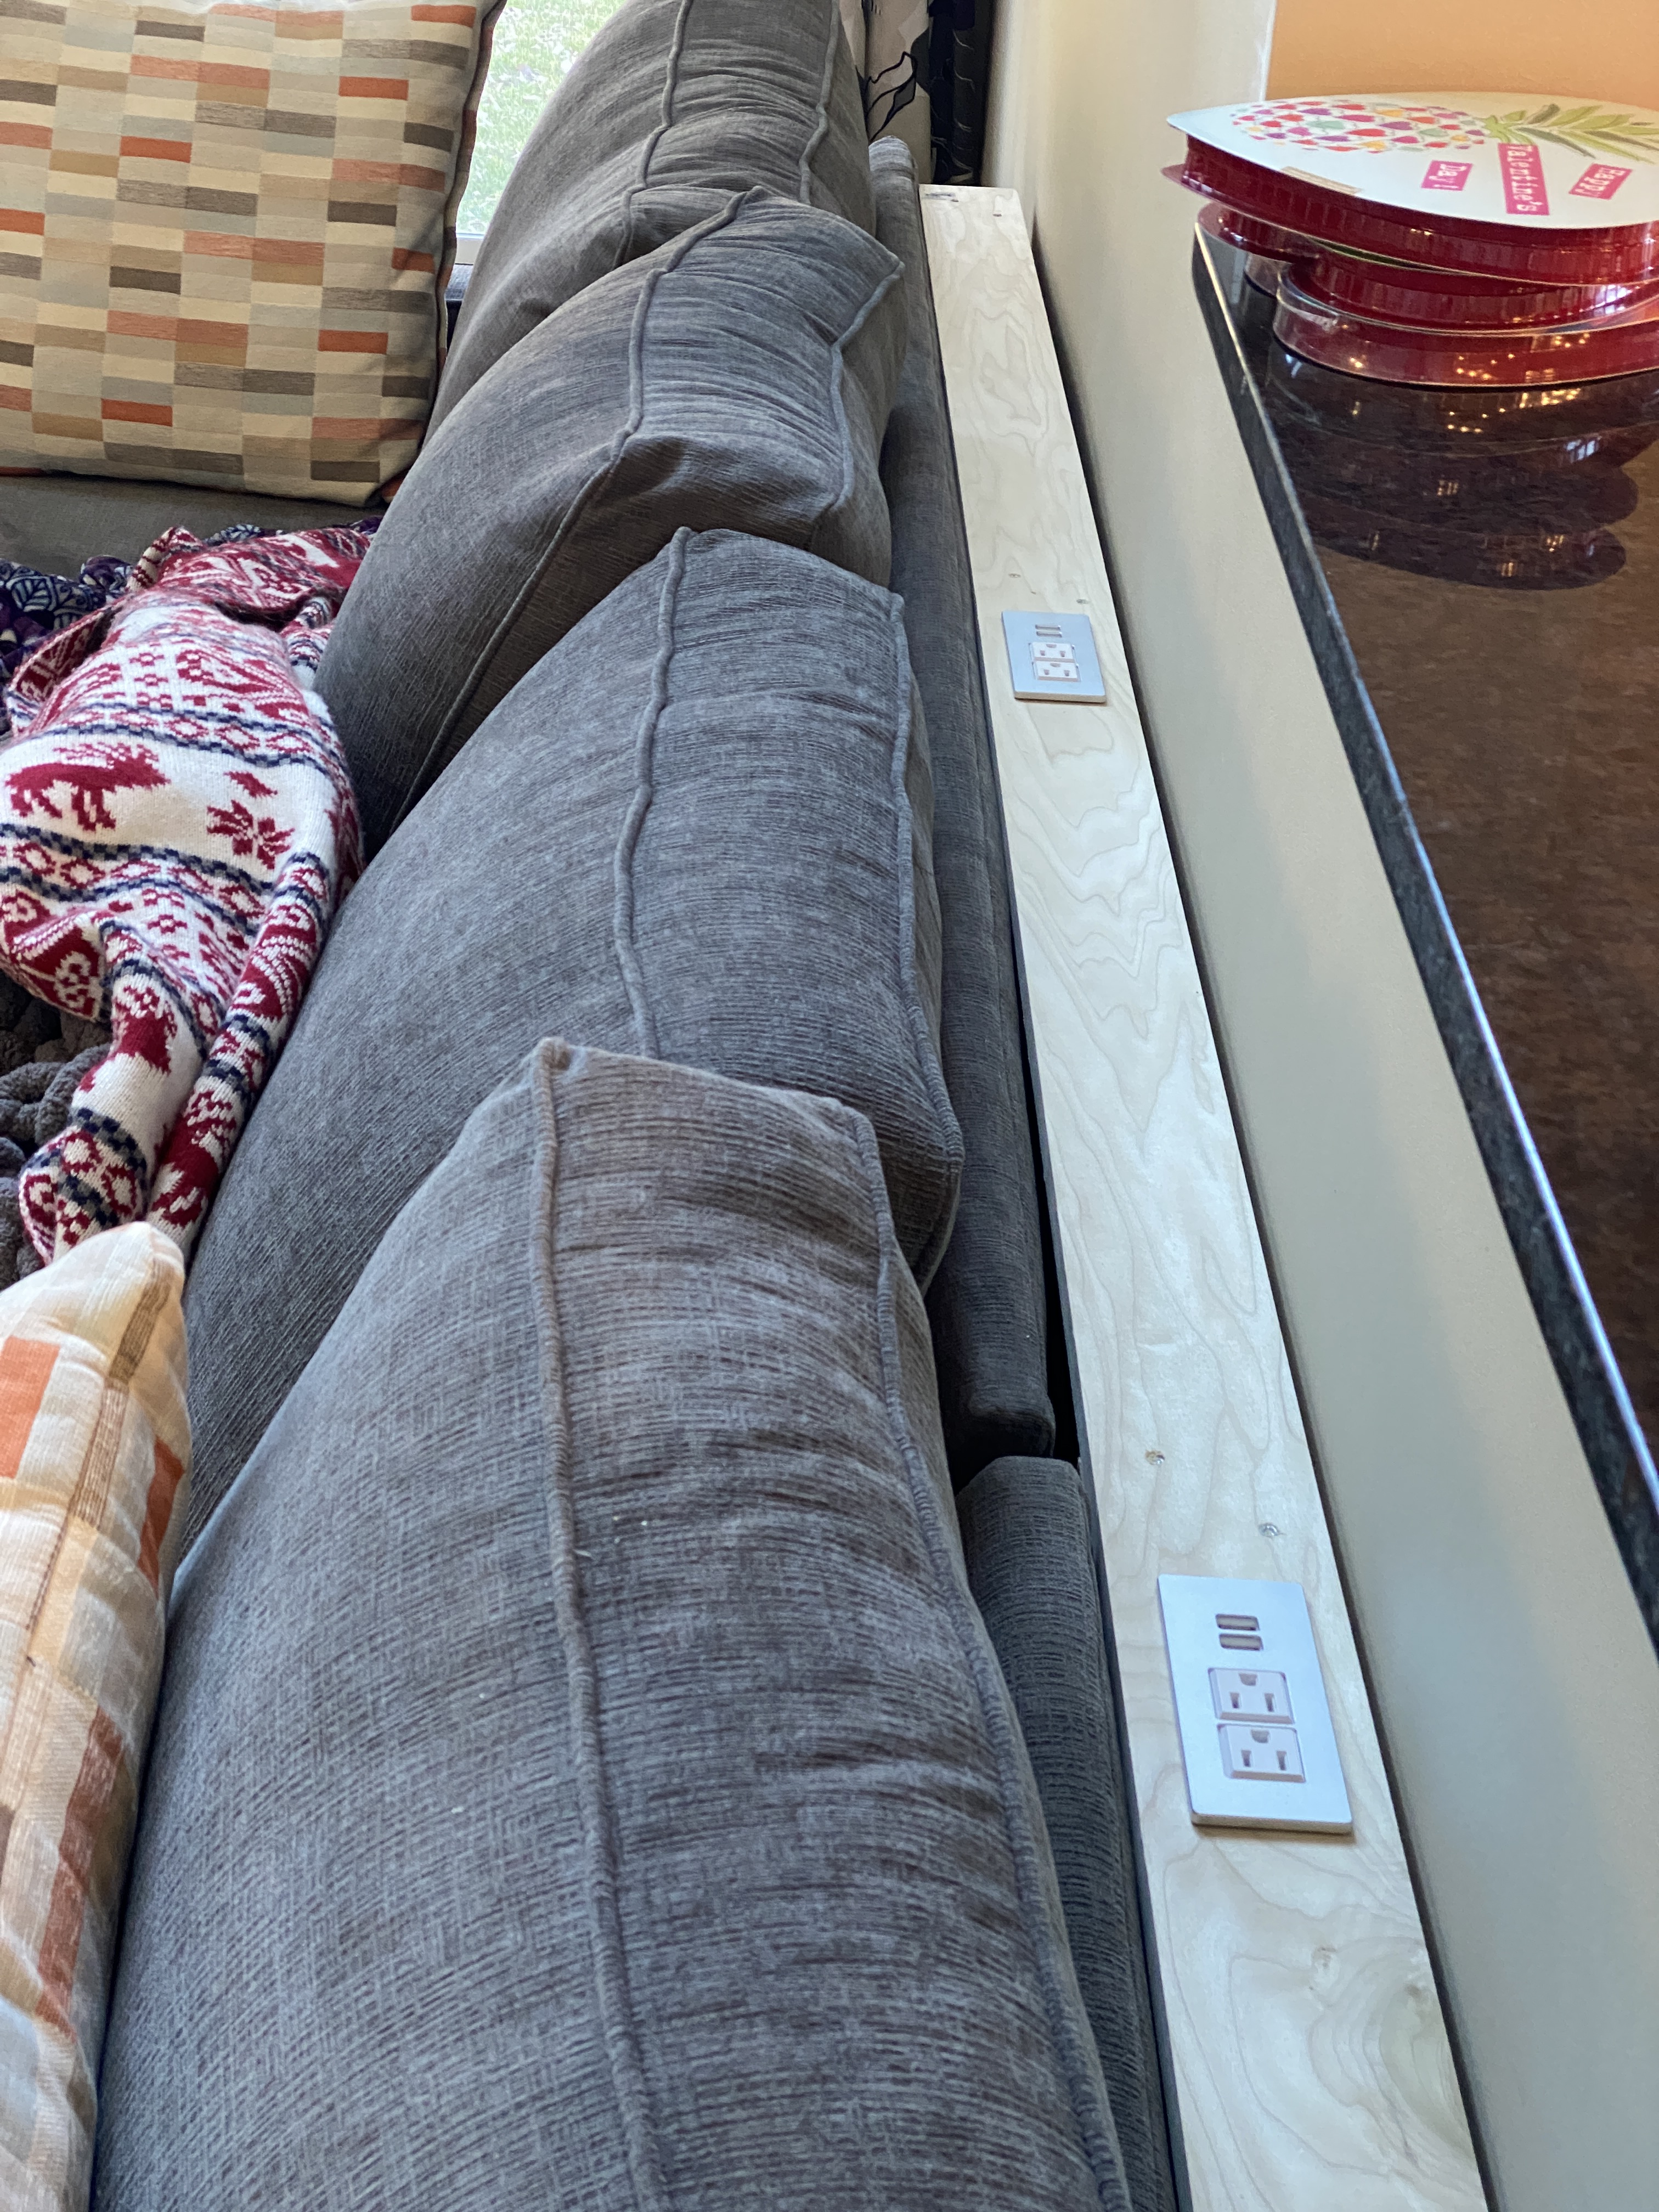
One of the things we planned to do when it arrived was to build a couch table. You may not have heard of a couch table before, but I promise that they are a thing. (A quick search shows lots of examples.) The main idea is to create a 4-6 inch table behind your couch, and in my example, also bring the hidden power outlets from the wall up to an accessible location.
It should be noted that I am not an experienced furniture maker, nor much of a woodworking expert, so any advice or ideas you gain from reading this are entirely your fault.
Planning the Table
I really wanted to minimize how much space this table took up, so I started with the features that mattered most to me: the power outlets. I spent time in the aisles of Lowe’s and Home Depot, but there wasn’t much variety, and the prices were pretty high. I took a chance on a brand that had high ratings on Amazon, and was pleasantly surprised by the build quality and price.

One of the things I liked about this outlet type was that it was narrow. The width of the entire face plate was just over 2″, where a standard outlet face plate in the United States is 3.5″.
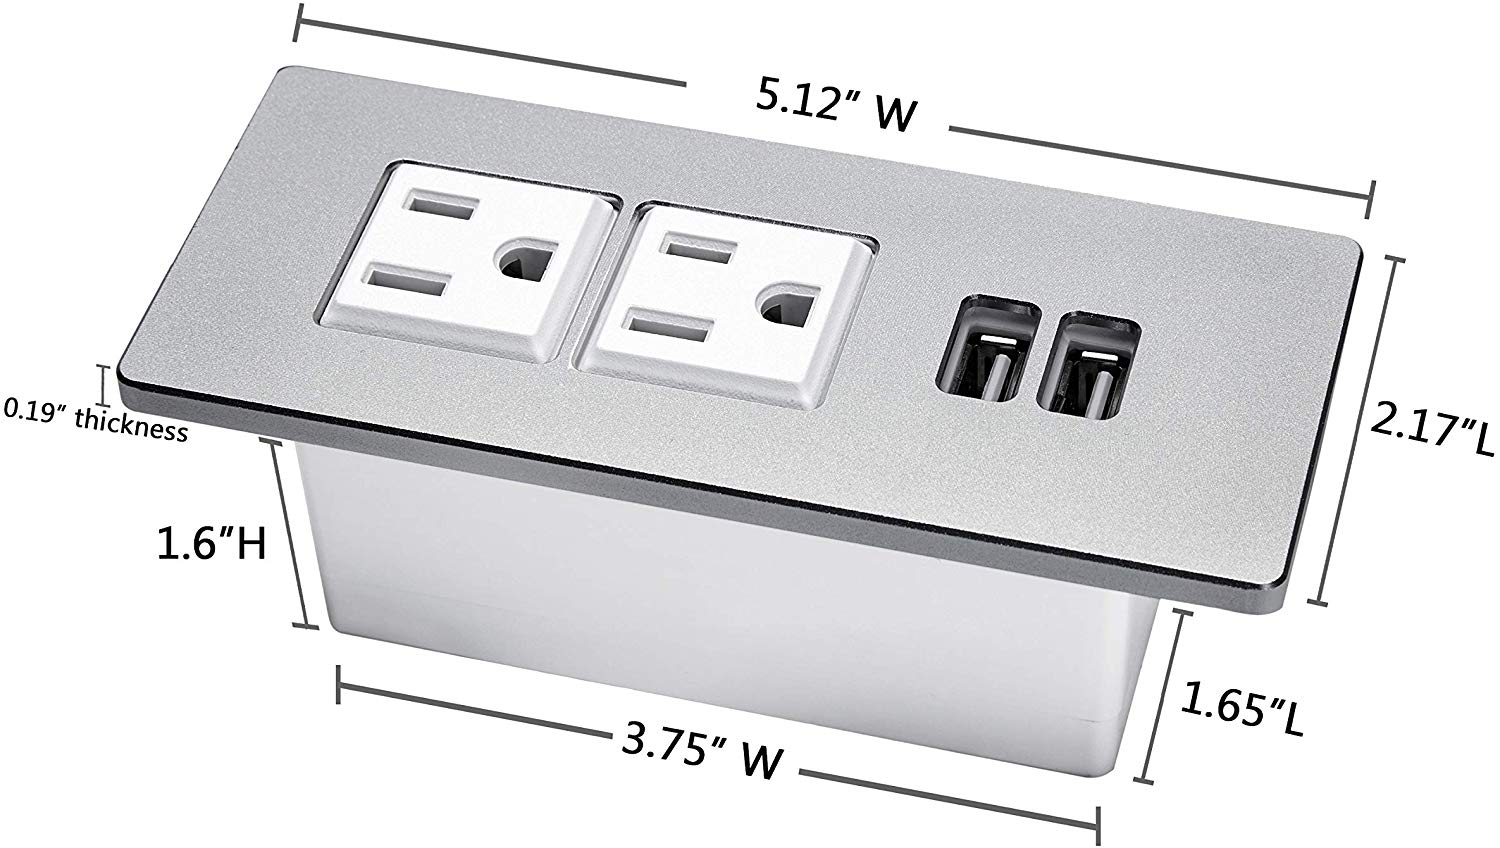
This meant that I could build a table with a 4″ wide top (actually 3.5″, because the entire lumber industry is a secret society of liars) , and still have a comfortable amount of space on either side of it. With a wider face plate, I probably would have been convinced to make it 6″ wide instead.
The only other part of planning was determining two dimensions: the length of the couch, and the height of the table.
Our couch, with the chaise extension, is 117″ long (that’s almost 10 feet!). So that’s how long I want this table to be. The back of the couch is actually much lower than the back cushions, so an ideal table height would come right to the edge of the back. That is 28″ from the ground.
With those dimensions, I came up with a plan that looks like this:

It basically became a 2×4 base, with four structural 4×4 columns. That structure is then completely covered in 1×4 poplar on the top and sides. You should be able to easily modify this for the length and height of your couch.
Building the Table
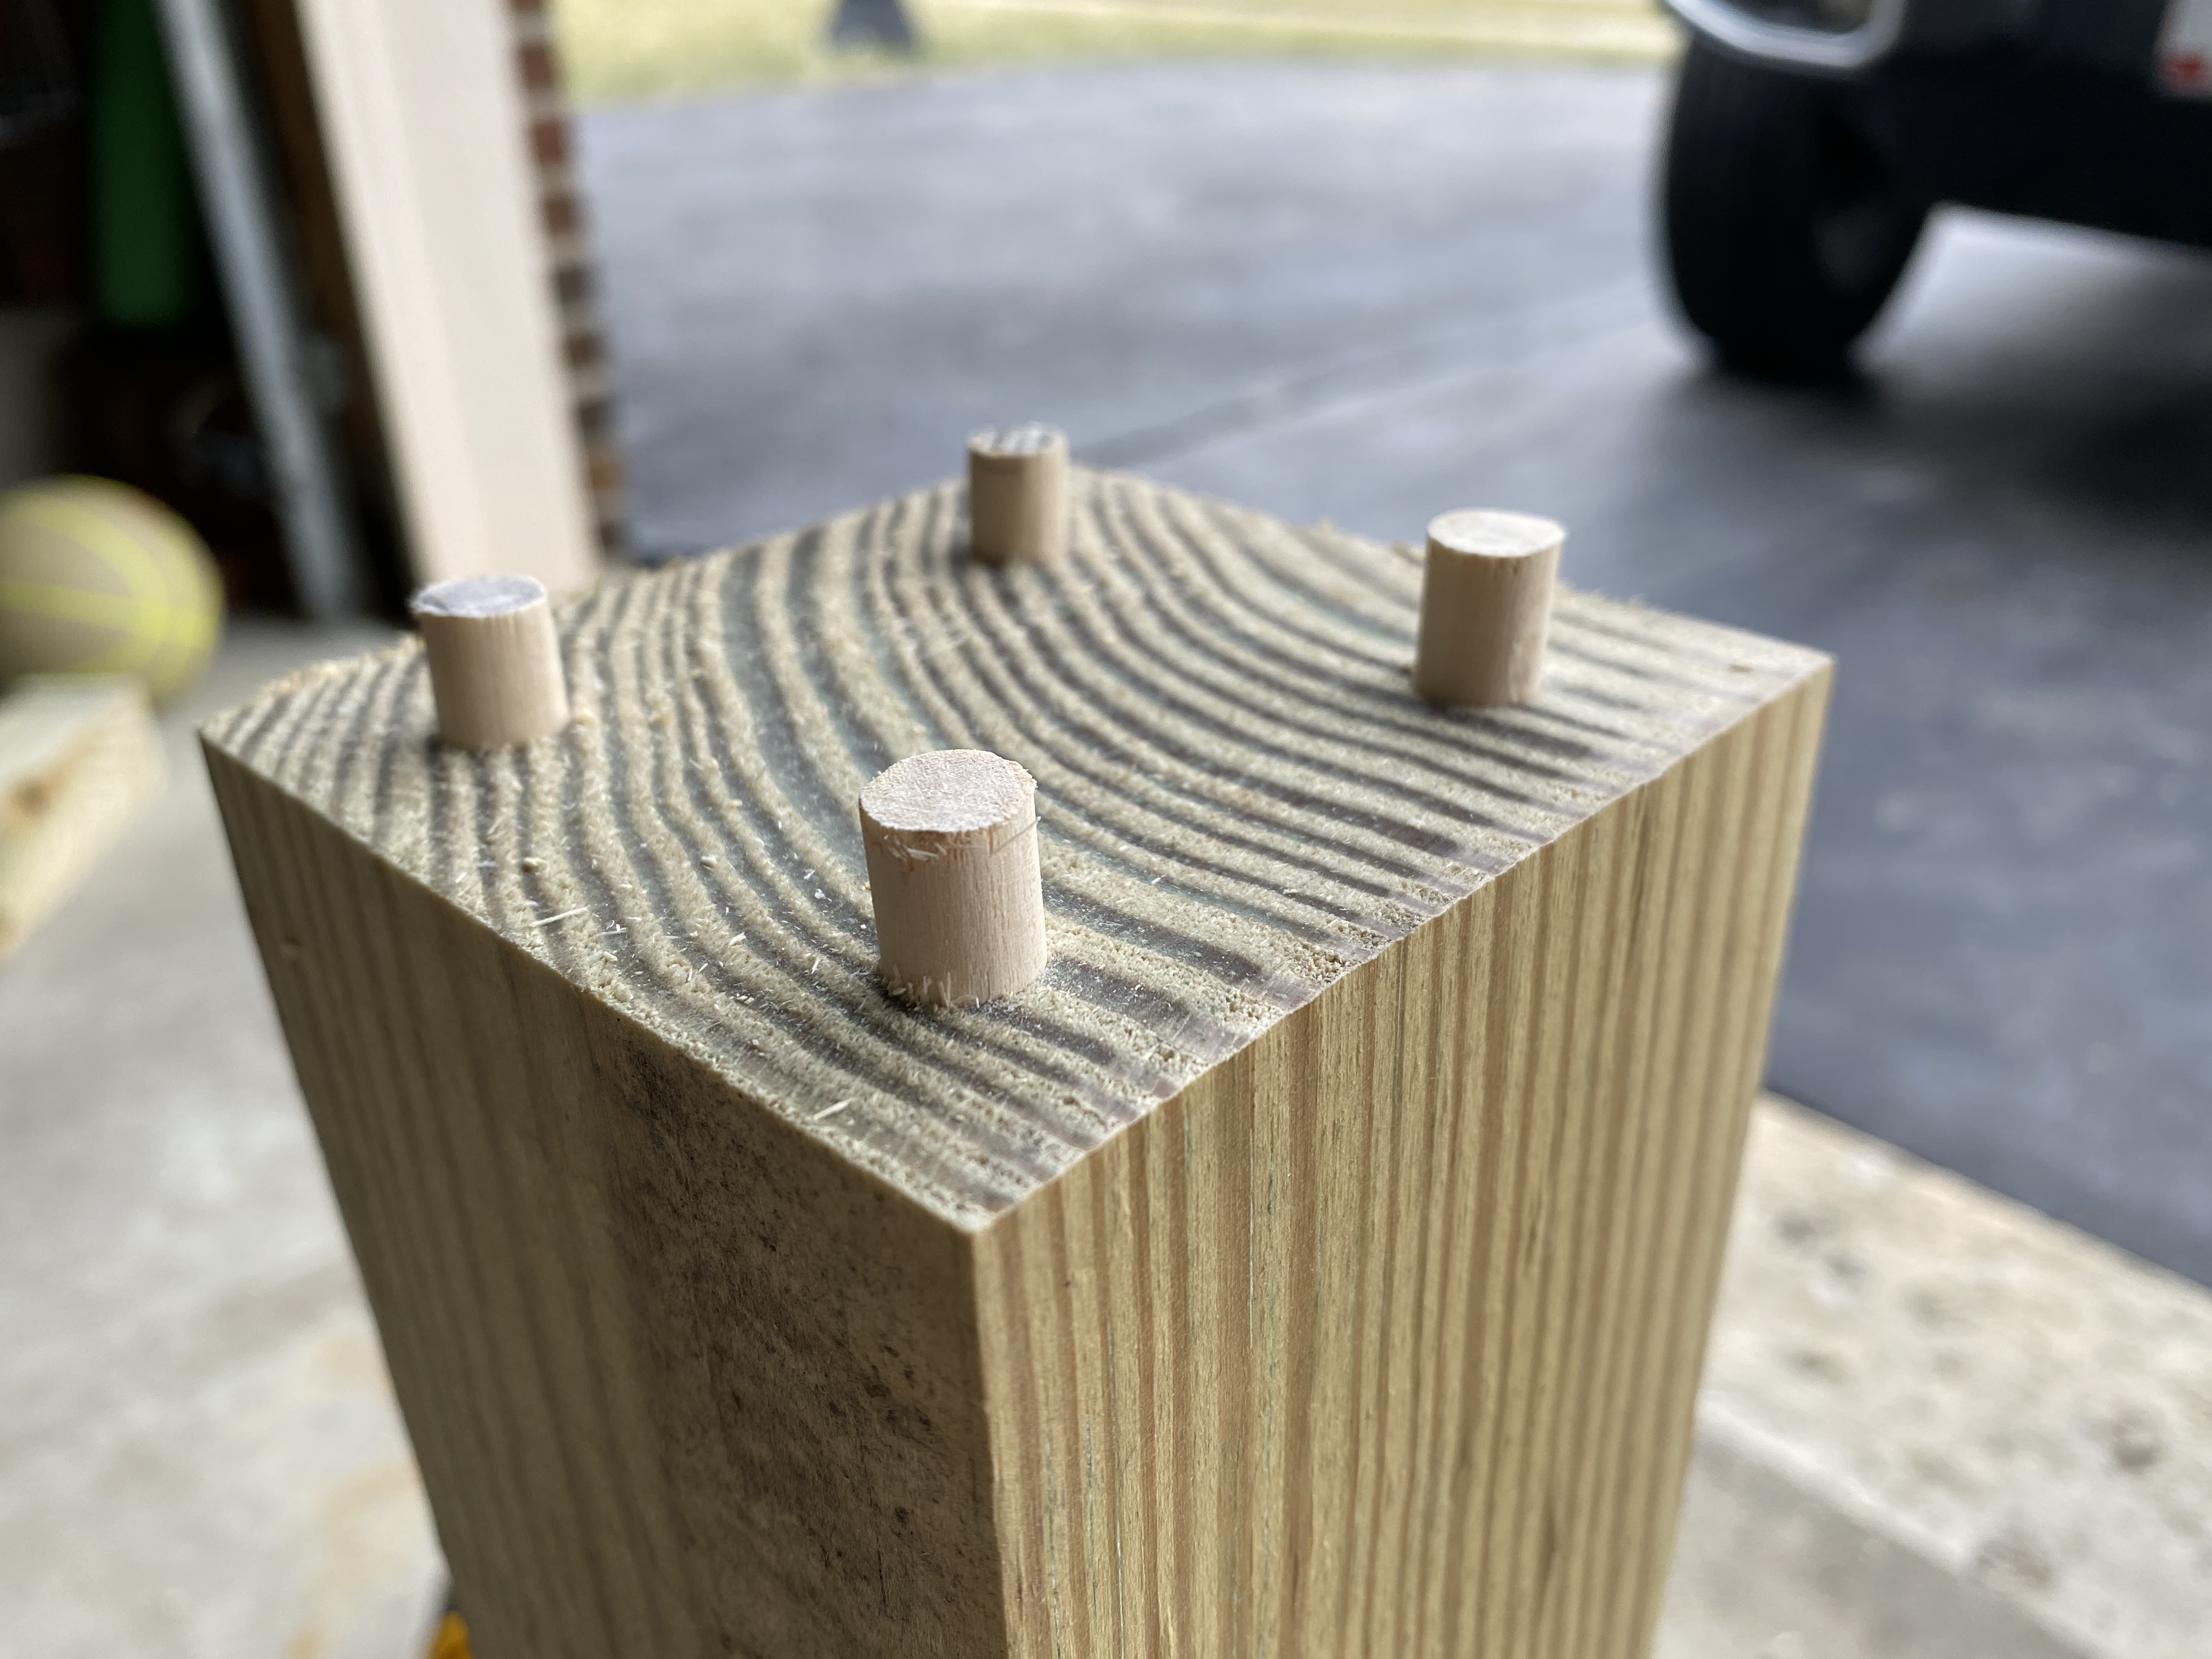
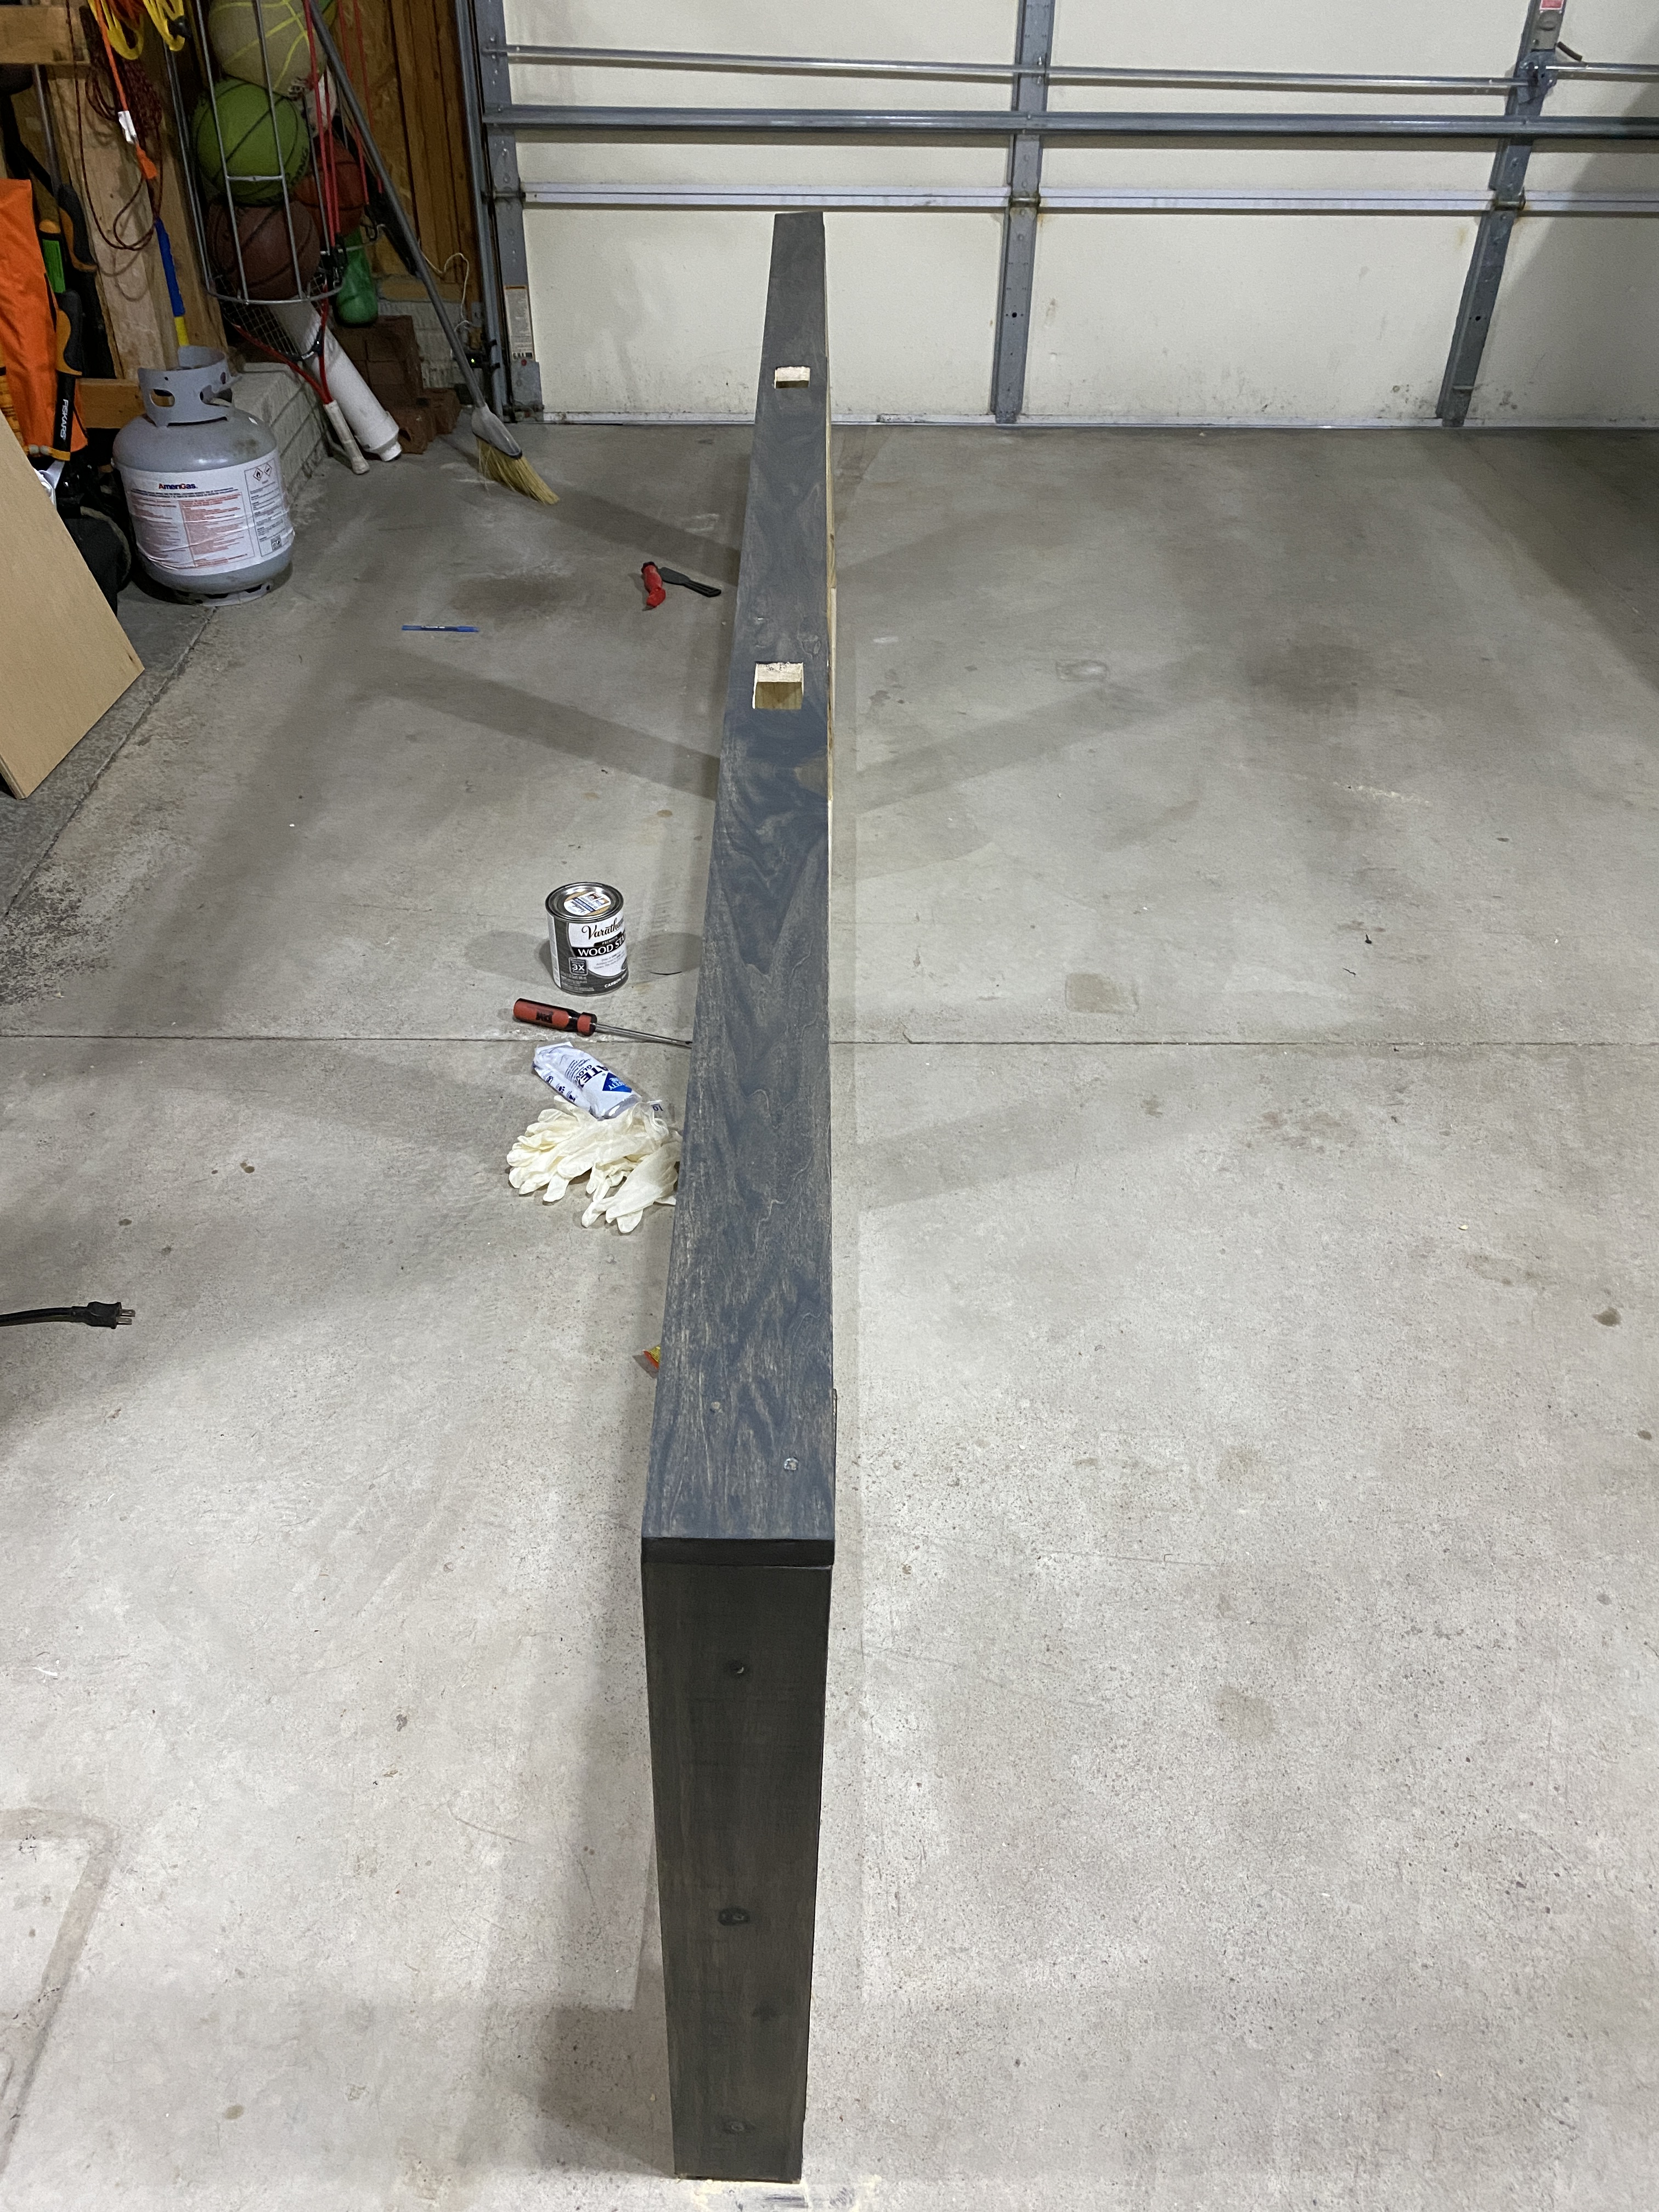
Building this wasn’t terribly difficult. A few long wood screws, and you’re on the right path. I initially had aspirations to attach the poplar board with dowels, which would mean I wouldn’t have any screw holes, but the further I got into that project, the more daunting it seemed. (It makes me appreciate the precision that IKEA engineering must have!)
Eventually, I drove screws through the poplar boards to attach them, and filled the holes with wood filler before staining it. I also wanted to make sure that, once assembled, the table would fit in its intended location. So we brought it inside to test it out before staining it.
It looks like it is going to be perfect! I’m still debating whether or not I want to use a router to accommodate the trim on the bottom of the wall. It would allow the table to sit flush against the wall, but I don’t have the tools I’d need to do this in an efficient manner, and it looks pretty good without it. I can always do this later if I change my mind.
Here’s a photo of the assembled table, with stain, but before the polyurethane has been applied.
To cut the holes in the top board for the power outlets, I started by tracing the box I wanted to cut. Then, with a 3/4″ drill bit, I drilled a hole in the corner of my intended box. From there, I used my jigsaw to work my way around the edges of the box. It was certainly not as precise as I would have liked it, but it definitely got the job done.
The Final Product
This turned out even better than I could have hoped for. As I said at the beginning, I’m no expert on any of this, but it was a fun project to put together.


Leave a comment