I have been asked several times over the past few weeks about what kinds of equipment I use for doing live streams from my home. I’m writing this as a way to share that knowledge broadly, but also as a way to evaluate whether I might be making this more complicated than it needs to be. I will write a companion post about the software I use in the near future.
The Hardware
I use quite a selection of hardware, from lights to cameras, PCs, desks, LEDs, mice, keyboards, and other controllers. We’ll go through each one of them, what they are, where you can get them, and what purposes they serve. I’ll also list pricing when I can. All of the prices are in USD.
Lighting – Elgato Key Light ($199)
The key to good video quality starts and ends with lighting. Yes, a good camera can help, but if your lighting isn’t good, it won’t matter how good your camera is. I use the Elgato Key Light. It is incredibly bright, has adjustable colors from warm to cold white light, and is controllable via an app on my PC and my phone. It also comes with its own mounting arm, which many other lights do not include. I actually have two of these, but one should be sufficient for nearly every application. You’ll also find, as I go through this list, that I am quite happy with the Elgato line of products. They make a second, less expensive light called the Elgato Key Light Air, but it is half as bright, and still costs $129. If you really want to keep your costs down, I’ve also had good luck with the NEEWER USB Dimmable LED Video Light ($44.99). You get two of them in the pack, which is more than enough light, and they’re small, so they’re a great choice if you’re taking your stream on the road!

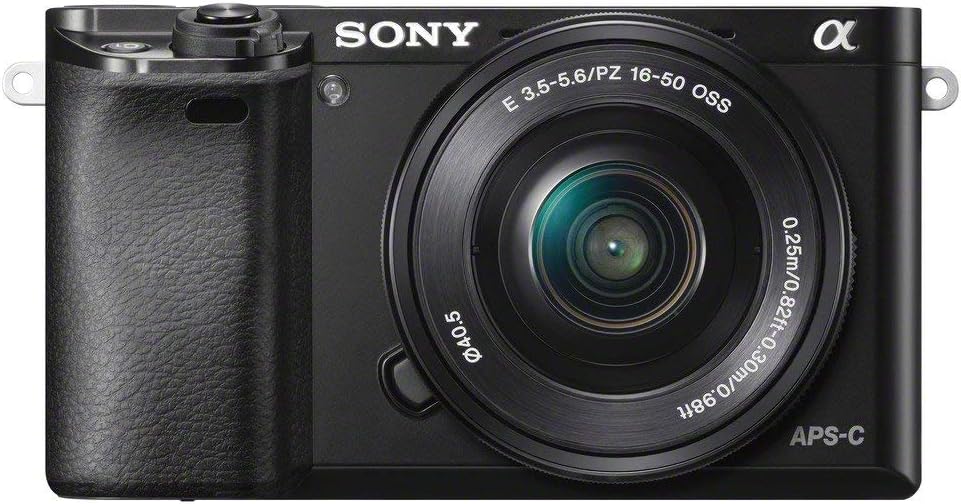
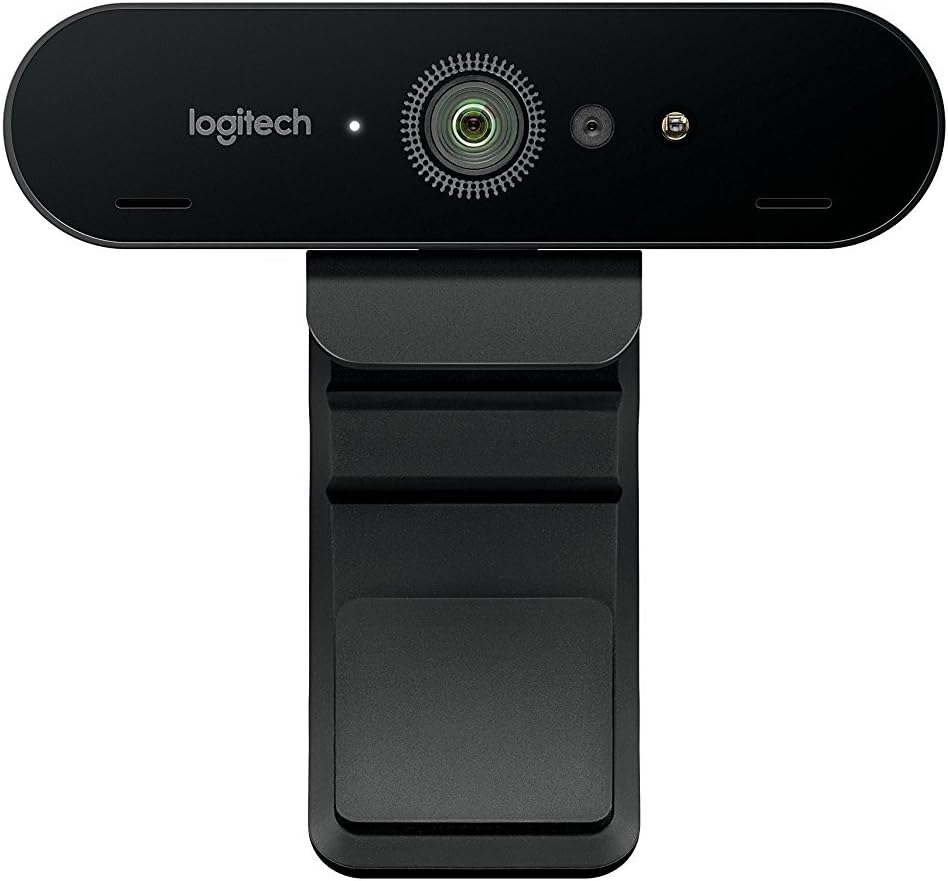
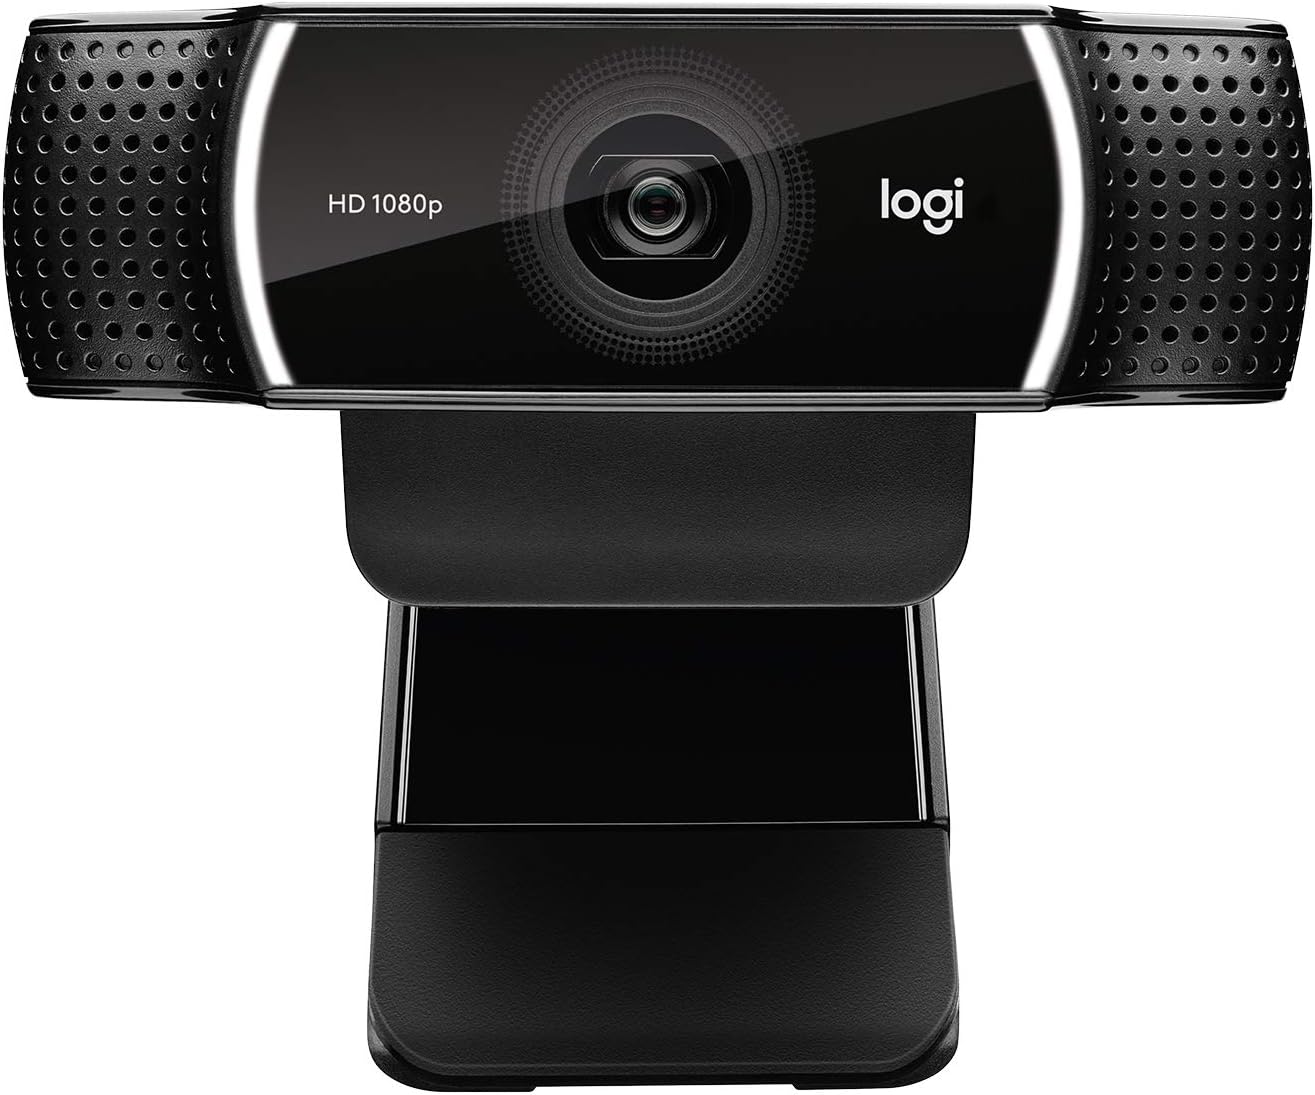
Camera(s) – Sony a6000 DSLR ($648), Logitech BRIO ($199), Logitech C922x ($129)
I actually have several cameras as part of home office streaming setup, but for most people that are just starting out, I would recommend using the Logitech C922x. It’s significantly cheaper than other options, and it’s an excellent webcam. That being said, let’s talk about why I have several cameras in my setup.
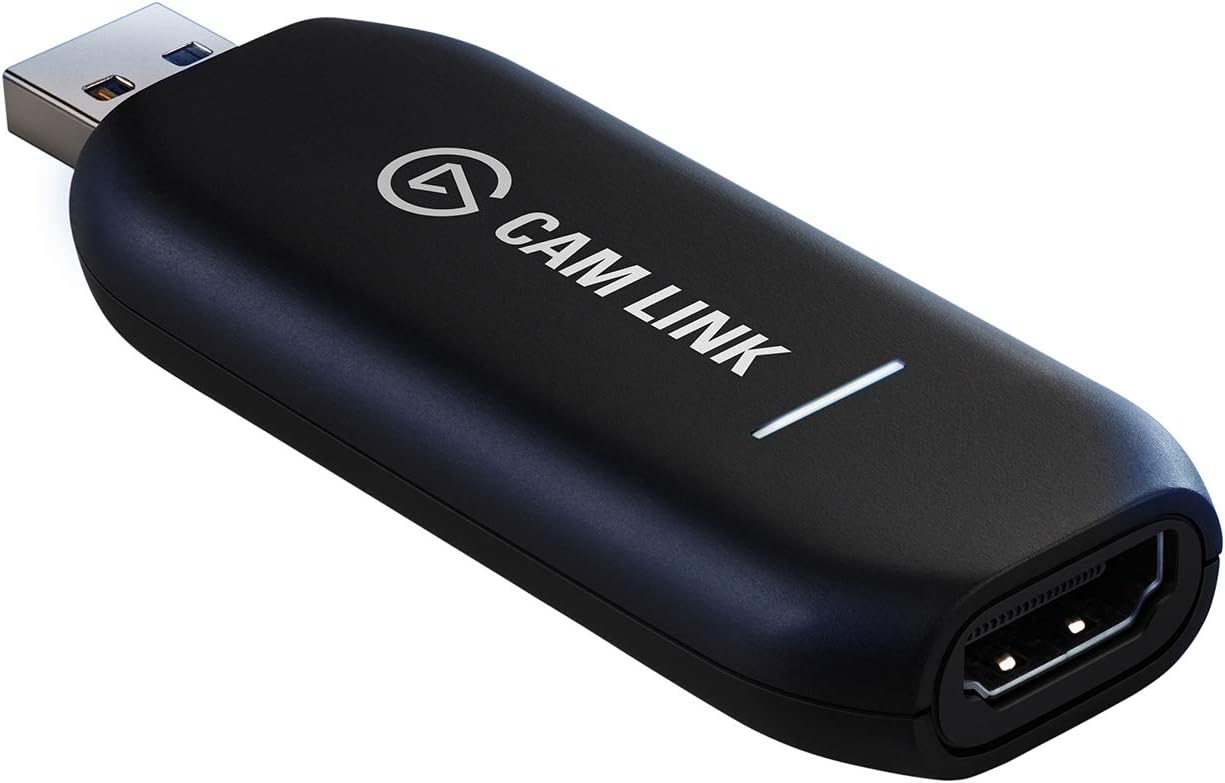
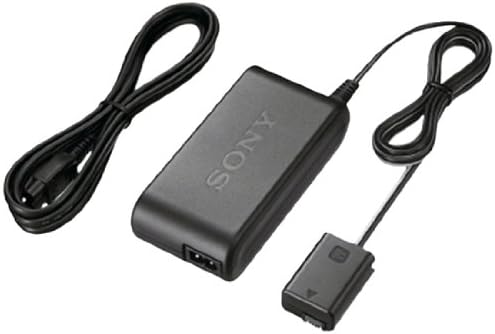
Main Camera – Sony a6000. This camera is amazing, but it also costs WAY more than a regular webcam. Using a DSLR will make a remarkable difference in your video quality, but it also comes at a price. In addition to that price, it is unfortunately designed to run on rechargeable batteries. This isn’t ideal for a static streaming setup, but thankfully they make a power supply cable (for another $139.). There seem to be generic versions of this cable available, but the official Sony version is expensive. Finally, there’s the connection from the camera to your PC. For this, I use a micro-HDMI to HDMI cable ($10.99), which plugs into an Elgato CamLink 4K ($129).
I use this camera as my primary angle focused on my face. A DSLR gives so much more depth to the video than you can get with a standard webcam, and I think that once you have an audience, this should be your first upgrade. (That being said, this is close to $1000 in total for everything.)

Overhead Camera – Logitech BRIO. This is the best sub-$200 webcam I’ve found, and I’ve used (and purchased!) plenty. Like most webcams, it plugs into my PC via USB directly. No additional devices or cables necessary. I currently have this mounted in a unique “top down” angle in my studio, which is very useful for when I’m doing things with my hands, like building hardware (or Lego!), or sorting baseball cards. This is most certainly not a required angle for any streamer, but it’s a fun way to mix things up when it makes sense. I’ll cover how it is mounted in the “Camera Accessories” section.

Office Camera – Logitech c922x. This is a workhorse of a camera for the price. You will not regret this purchase in the slightest. I’ve had one of these for years, and it has never failed me. It is currently my resident “wide angle” shot in my office studio, and does a great job of capturing the entire environment I’m streaming from. It’s a fun, unique way to show people exactly how I’m streaming, and it feels a little “behind the scenes.”

Your iPhone or iPad – I’m currently using the iPhone 11 Pro Max, but literally any Apple phone or tablet made in the past 5 years is sufficient. The key to this camera is to use a small tripod or mount, and a USB connection to your PC. There is a fantastic app called OBS Camera that will easily allow you to grab the live video feed from your phone as a camera input for your stream. It’s a camera you already own, and it’s probably better than any webcam option you can find.

Camera Accessories
With cameras comes accessories. You need mounts, tripods, power supplies, and extension cables. This section covers all of those extra parts and pieces.
Elgato Cam Link 4K ($129) – This is the device that connects my DSLR to my PC over USB 3.0. It can take any HDMI connection and connect it to your PC as a video input.
Sony ACPW20 Adapter ($139) – This outrageously overpriced power cable for the Sony a6000 allows it to run continuously without replacing batteries. It’s unfortunately totally worth it for your streaming setup the first time your battery dies mid-stream.
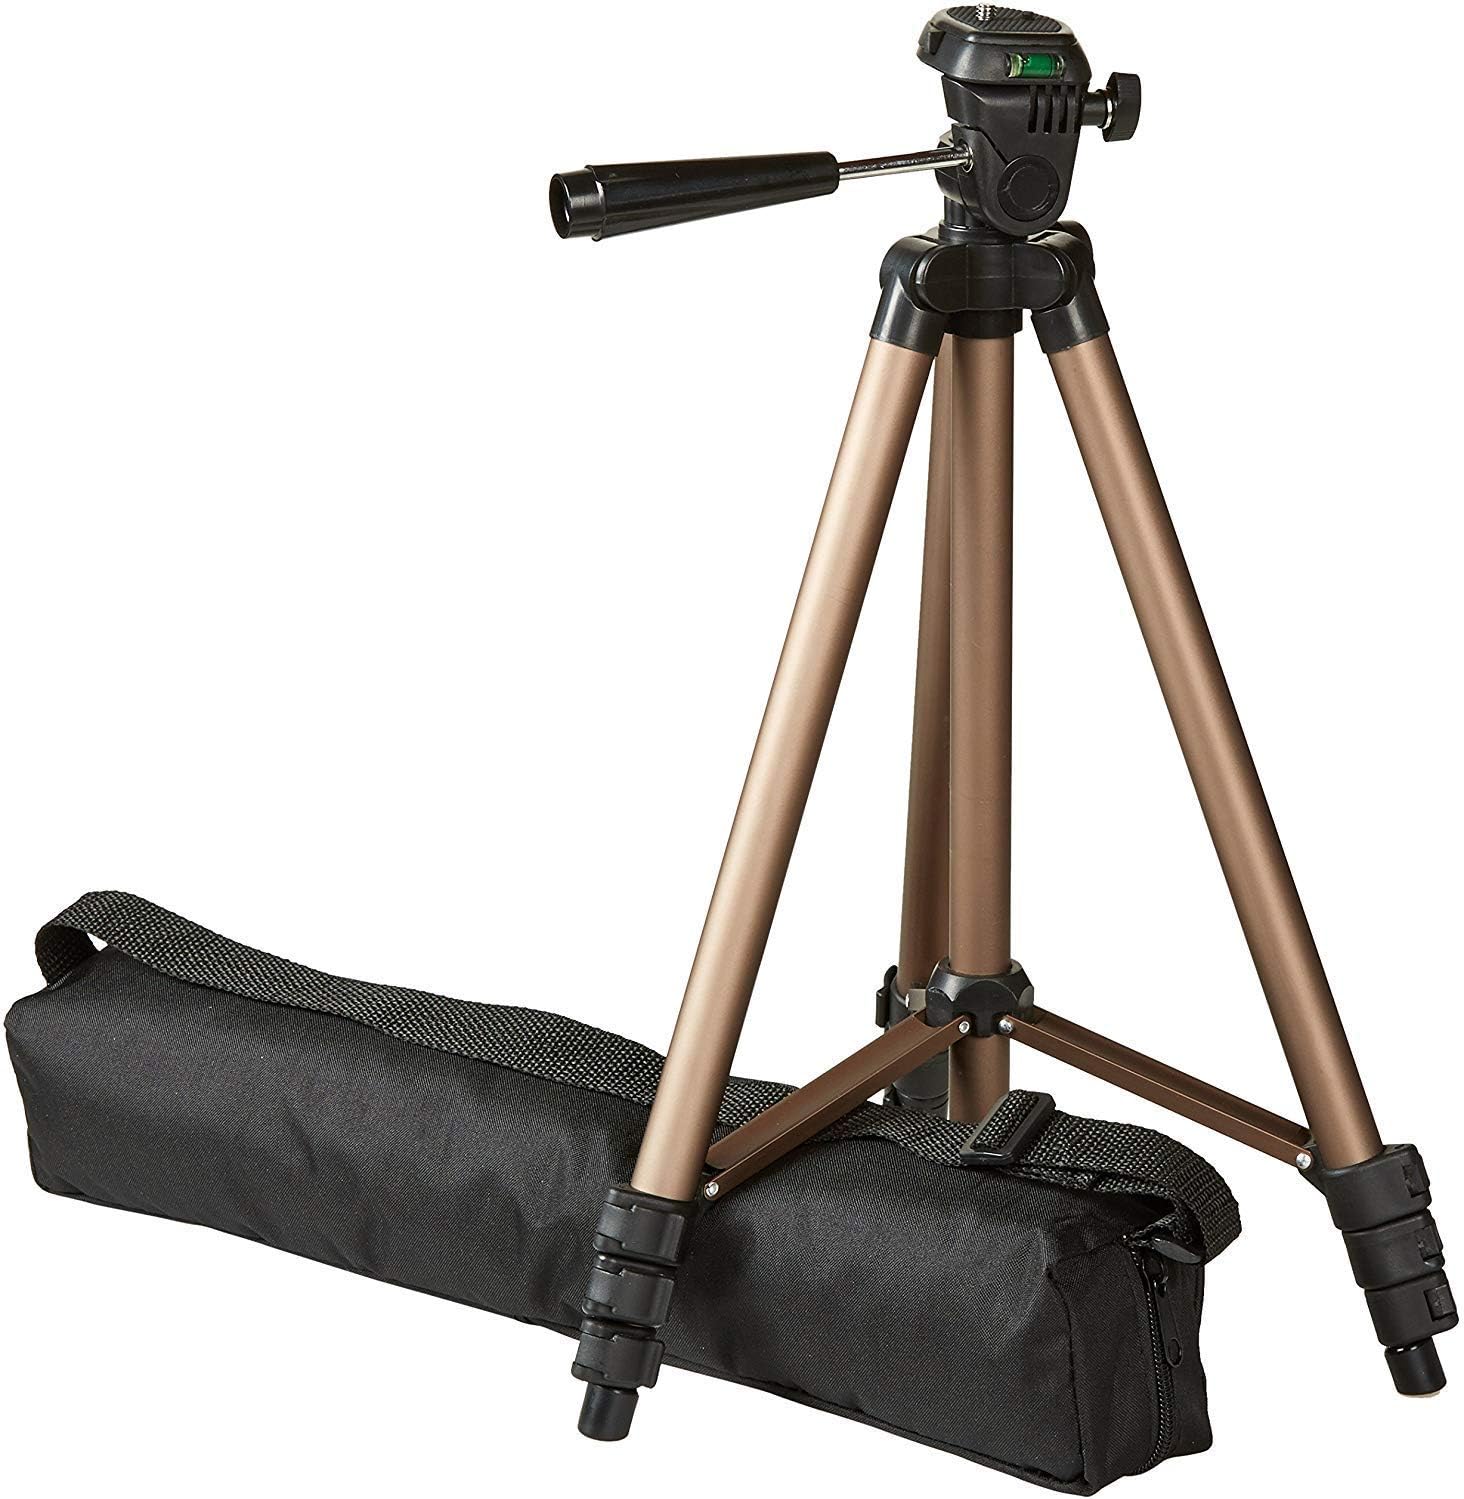
Amazon Basics Lightweight Camera Tripod ($18.58) – Initially, I had my camera mounted on top of my monitor. But I found that every time I bumped or nudged the desk, the monitor would move a little, which would also shake the camera. It was like I was recording myself during a bunch of minor earthquakes. Using a tripod gives me the stability I’m looking for (especially using a DSLR), and also gives me more choices for height and angles.
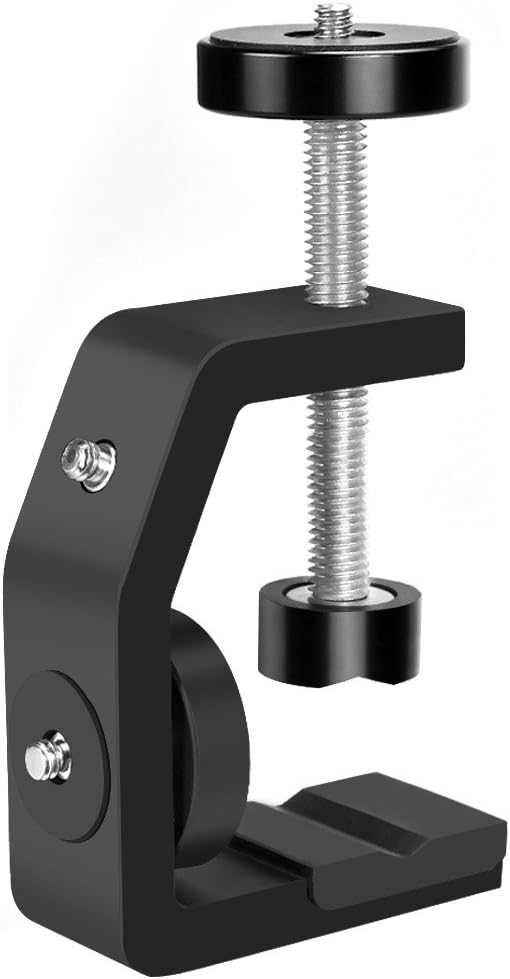
UTEBIT C-Clamp Camera Mount ($25) – This has become my go-to for most of my camera mounting needs. It can adjust to nearly any size shelf or tabletop, and offers three different mounting positions. It is incredibly well made, lightweight, and easy to install.
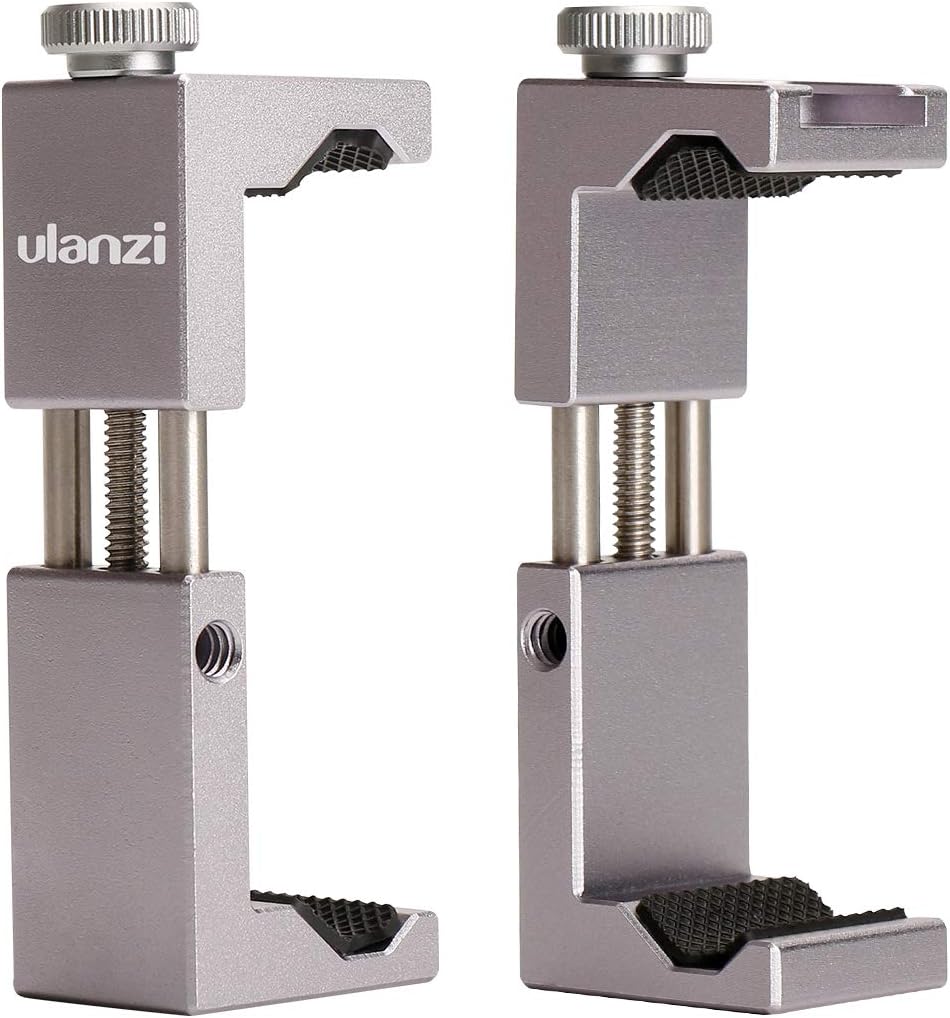
Ulanzi Aluminum Phone Tripod Mount ($14.95) – There are plenty of phone tripod mounts out there, and most of them are plastic, with a spring-based tension system. I really liked this one for the durability of aluminum, and the ability to tighten it manually.
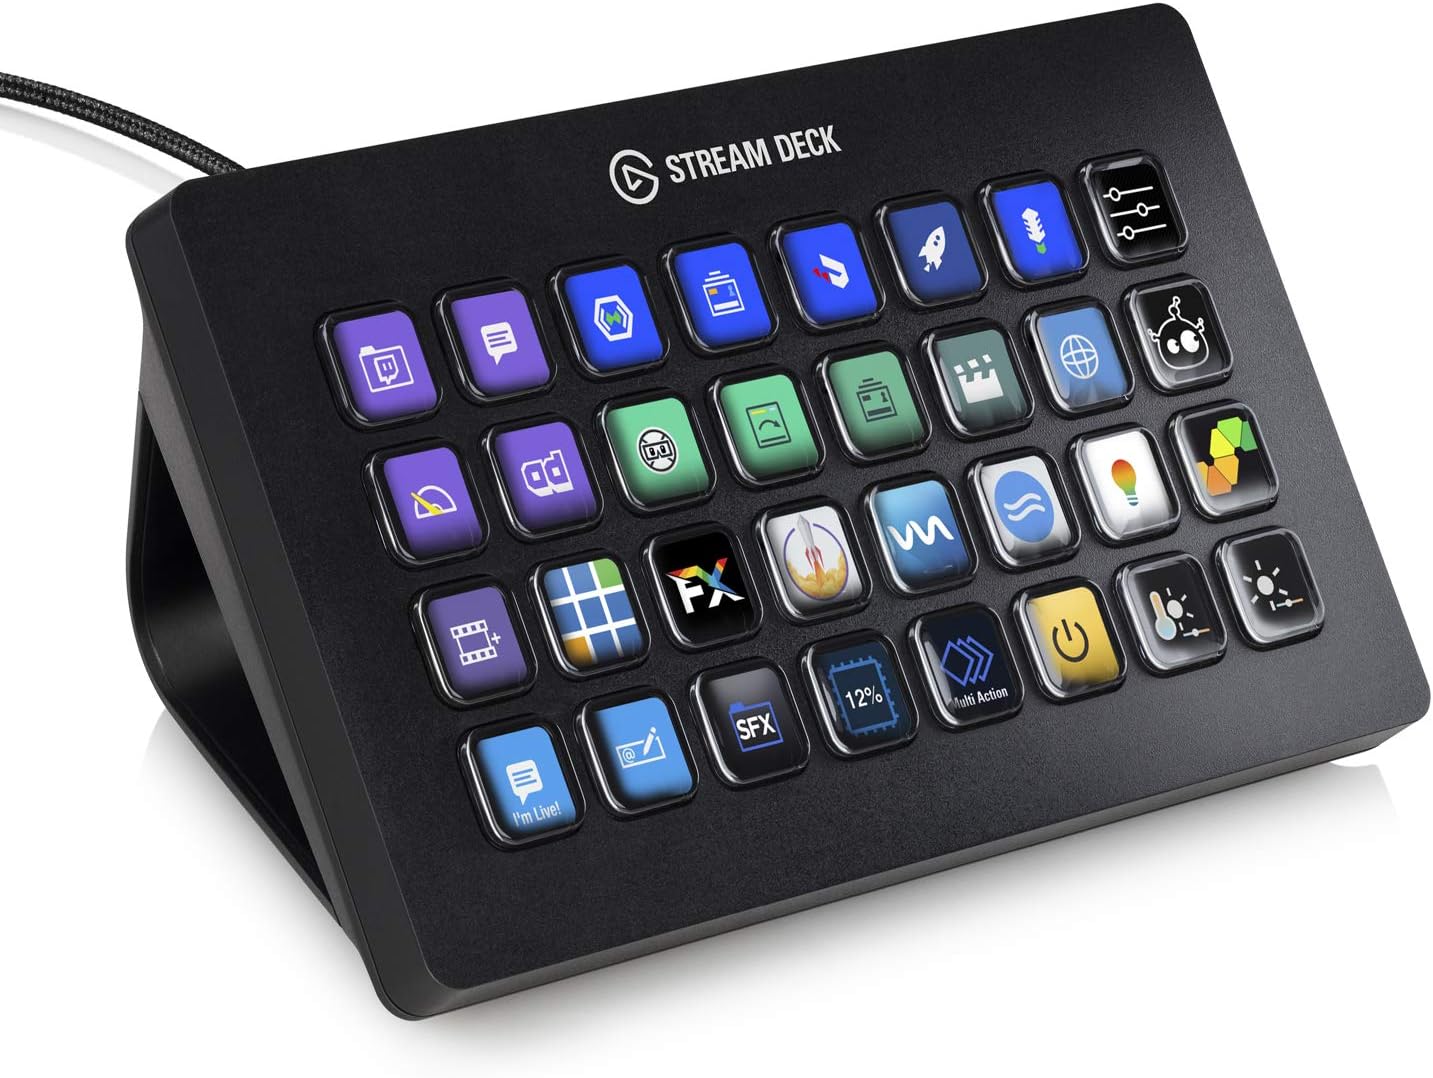
Elgato Stream Deck XL ($250) – This is like the command center for streaming. Each of the individual buttons can be programmed to perform a number of tasks, from opening apps or websites, to changing your camera angles and scenes of your stream. You can even hook them up to IFTTT to make all sorts of things happen! This is the 32-button configuration, but there is also a 15-button and a 6-button option for smaller budgets.
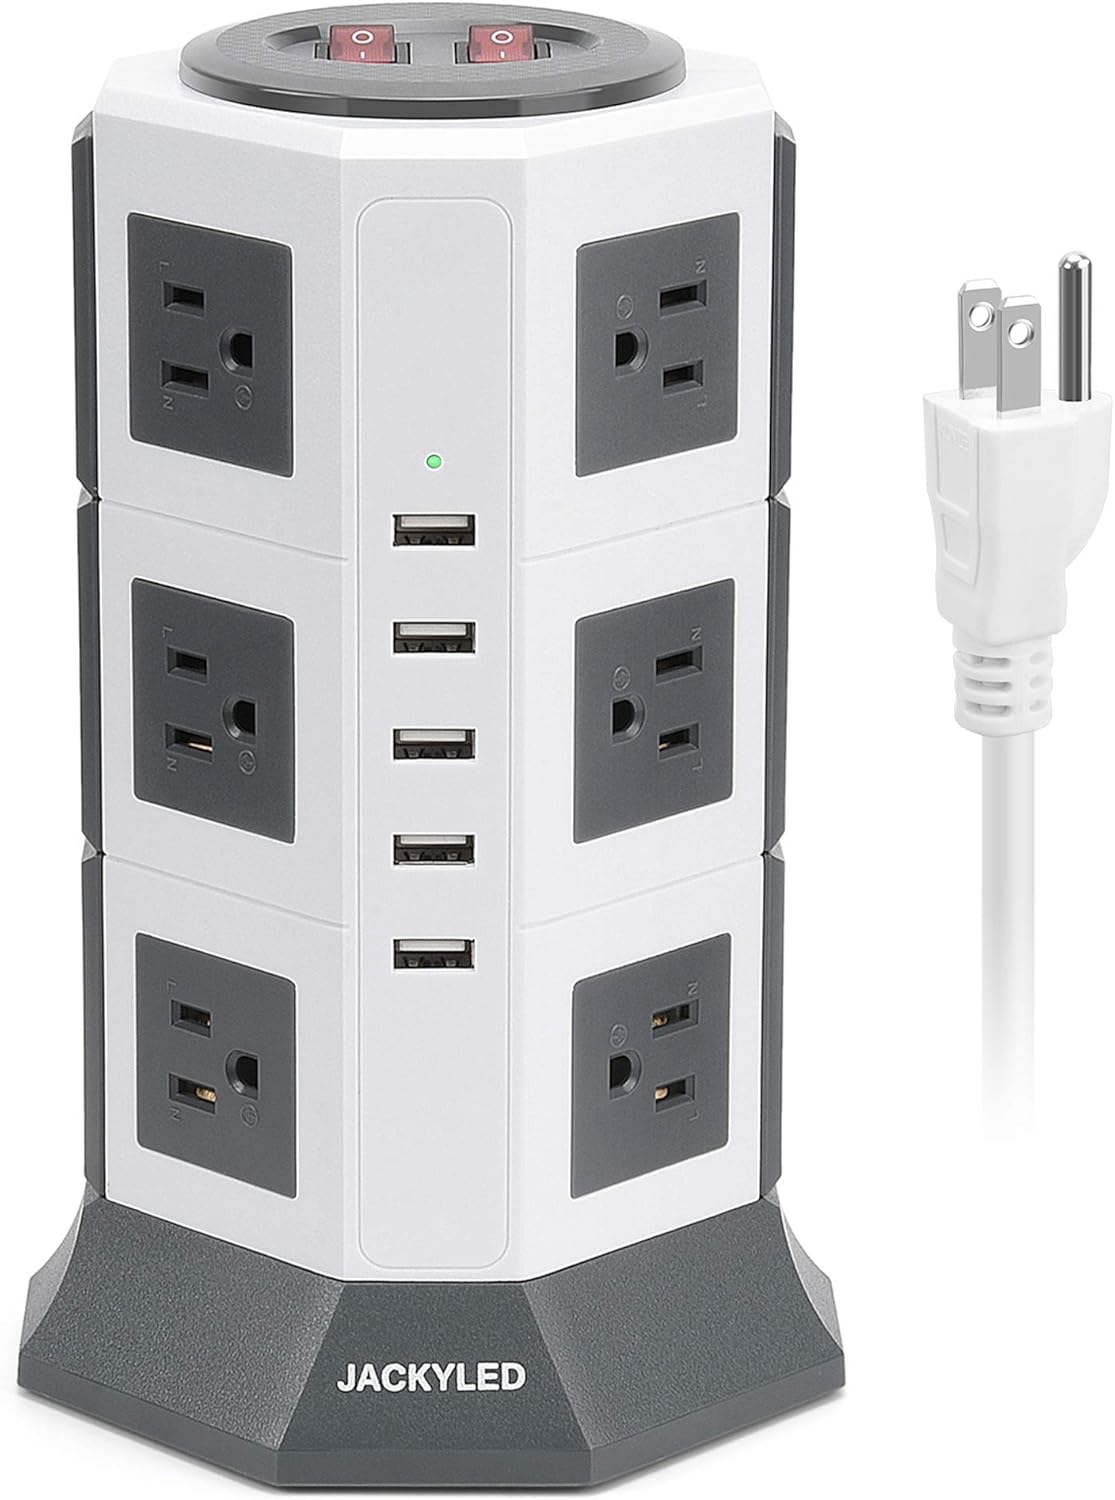
JACKYLED Power Strip Tower ($38.99) – This is an amazingly helpful power strip. It contains 12 well-spaced power outlets (for those bigger plugs), and 5 USB charging ports. For most streaming setups, this is the only thing you need.
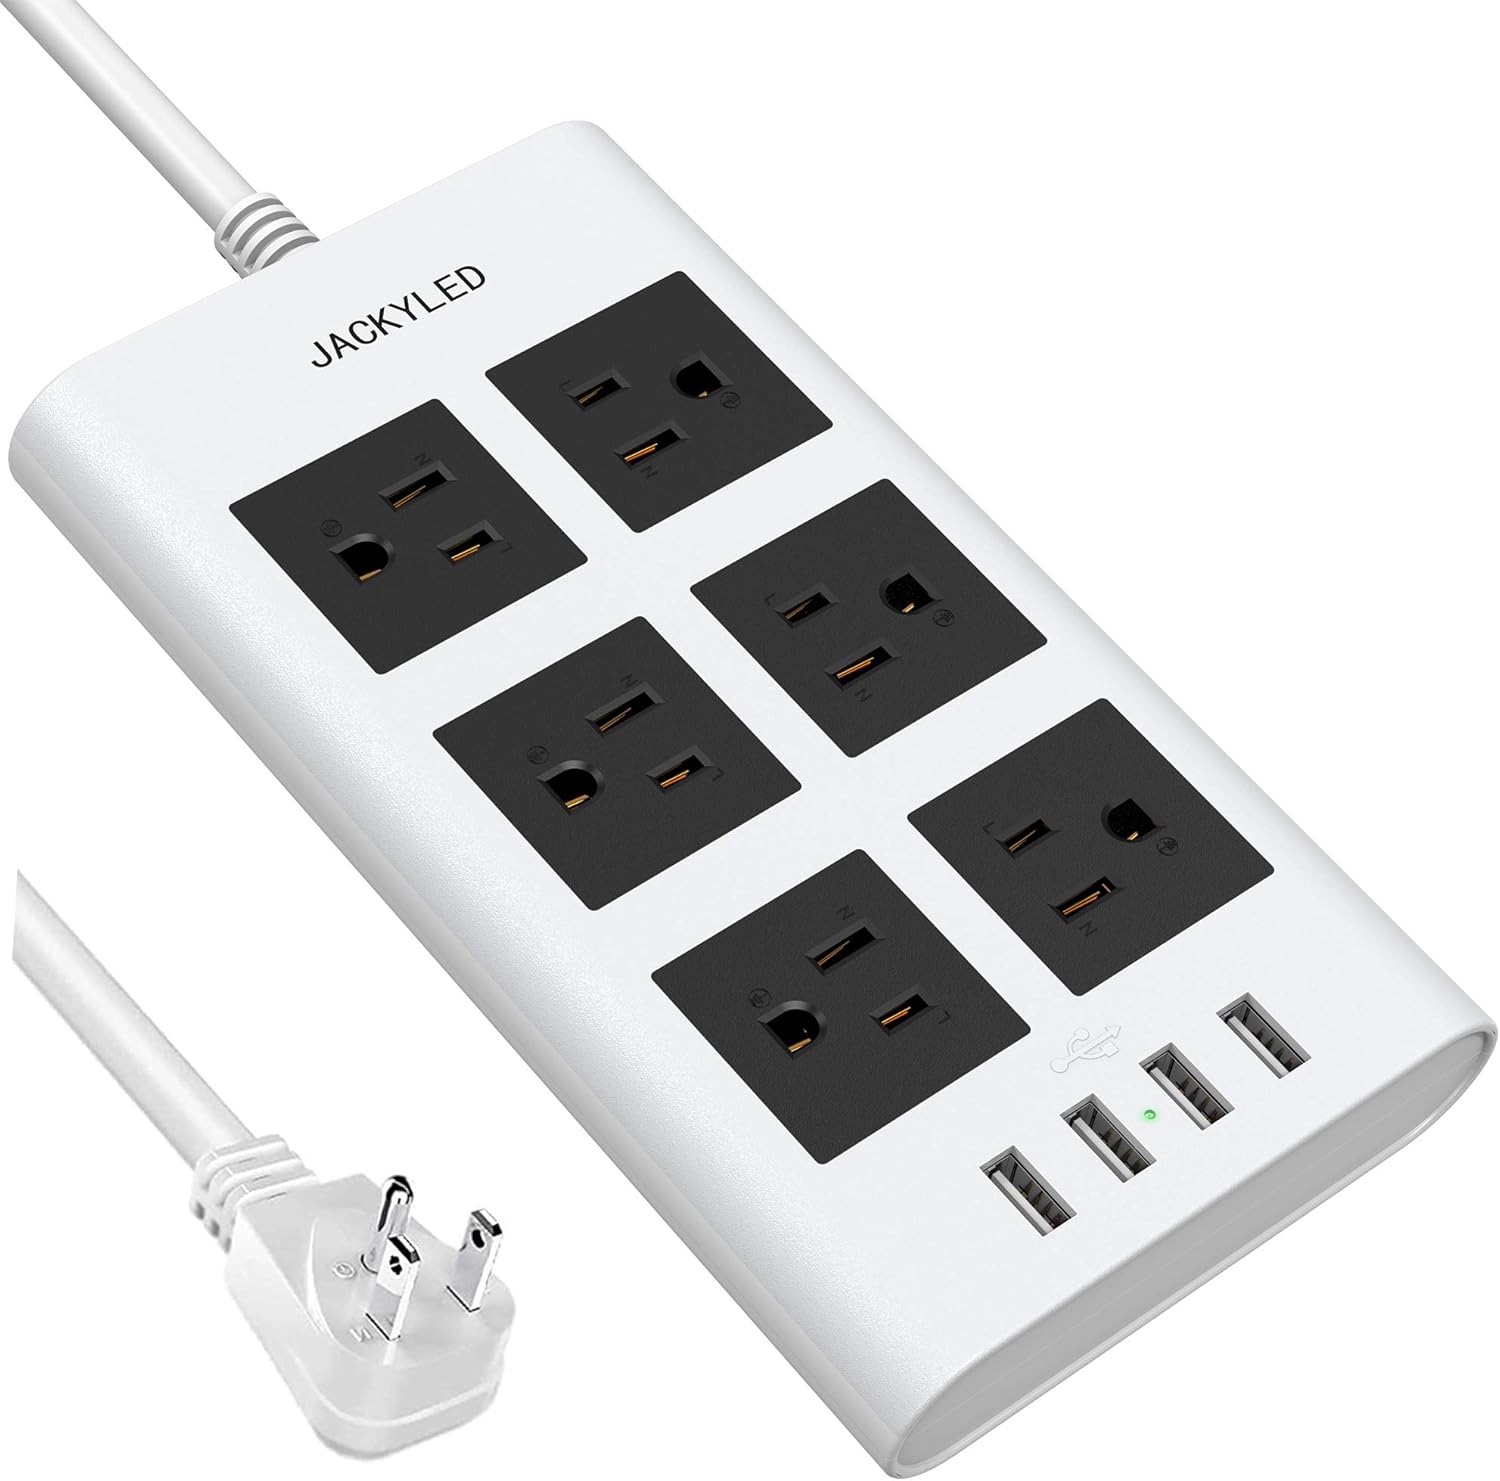
JACKYLED 6-port Power Strip ($23.99) – Another well-spaced power strip. I have two of these mounted under my desk with 3M strips as a great way to conceal many of the wires that are running between me and the PC.
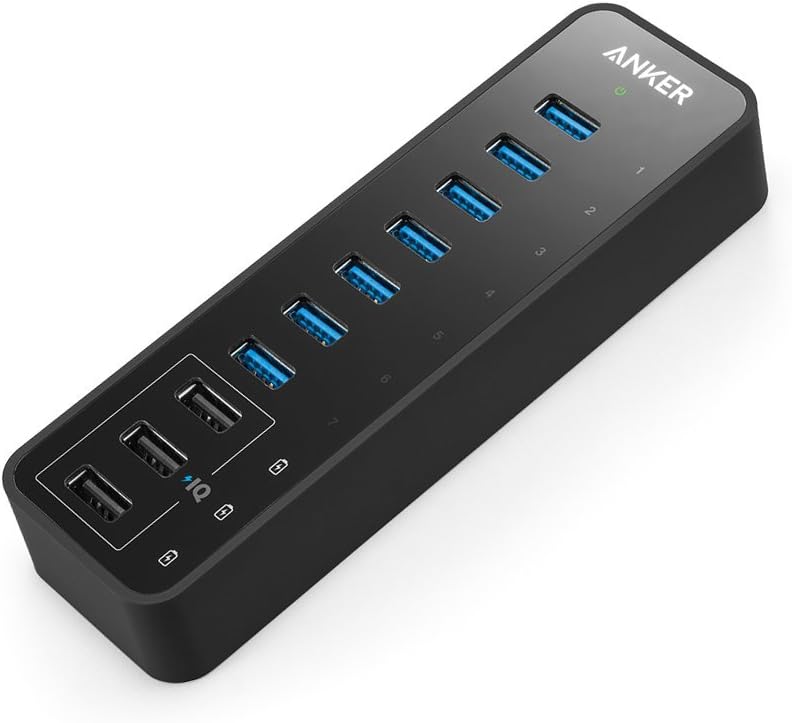
Anker 10-port USB 3.0 Hub ($52.99) – It doesn’t matter how many USB ports you think you need on your PC, you will need more. This device can connect 7 additional USB 3.0 devices to your PC, and has enough power to charge 3 more.
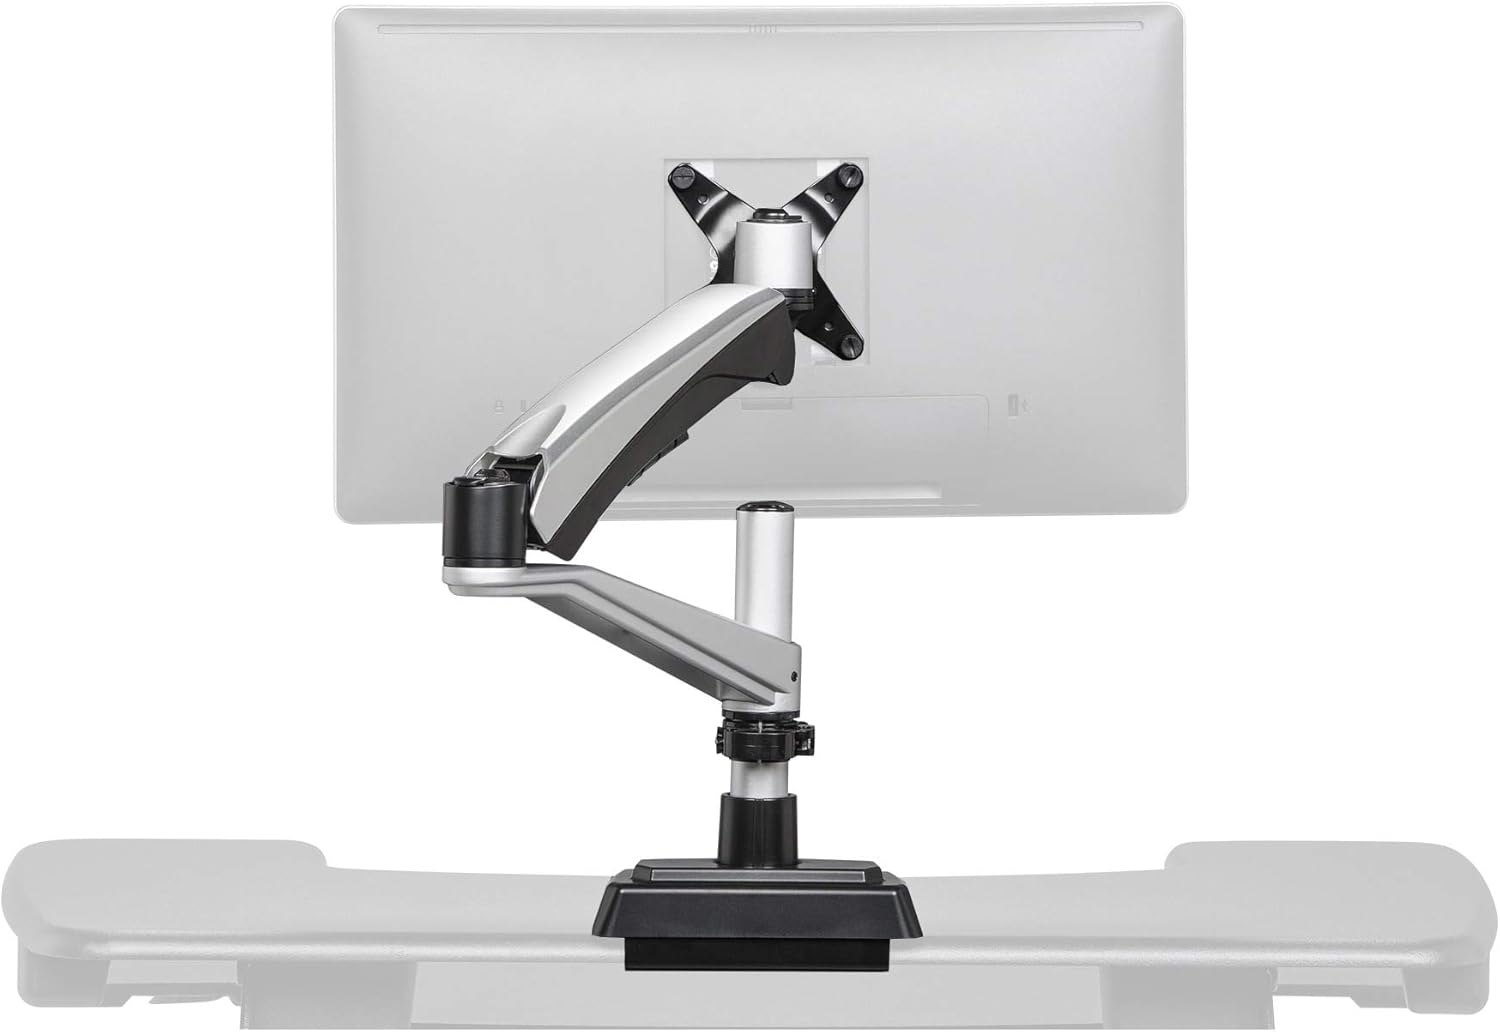
Vari Single Monitor Arm ($125) – I actually have two of these, but they are super strong, easy to install, and easy to use. I have one for each of my two monitors. It also has an adjustable height, which was not common on most of the monitor arms I looked at.
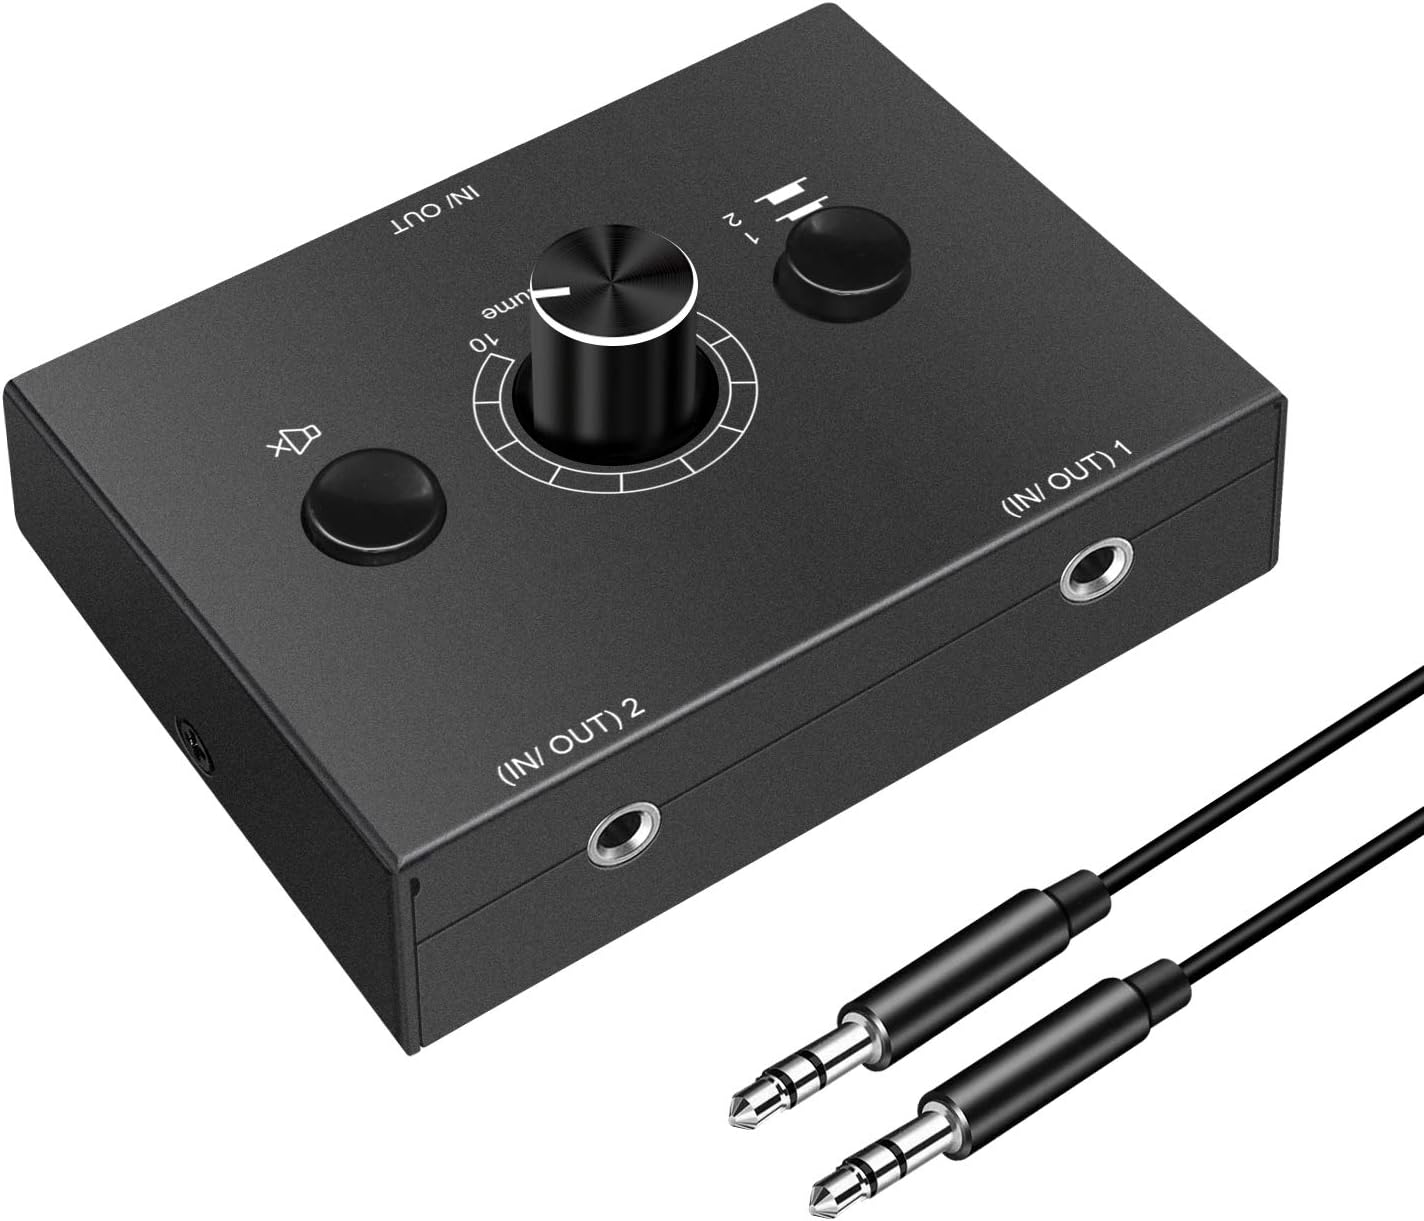
3.5mm Audio Switcher ($23.99) – If you’ve ever wanted to seamlessly jump between your speakers and your headphones, you’ve probably looked for one of these. I simply run the audio output from my PC to this little switch, and then plug in both my speakers and my headphones to the two outputs. Pressing the toggle button will allow you to switch between them instantly without messing with cables or software. It also has a dial for volume, making it much easier to adjust on the fly.
The Desk
I teetered between a number of great choices, but I ended up landing on the Autonomous Smart Desk 2 ($379). It’s a motorized adjustable standing desk that comes in a variety of colors and finishes, and was remarkably easy to assemble. I actually have my entire setup oriented “long-ways” to give me the depth I need for everything to fit on the desk. I have the model shown in the photo, which is white tabletop on white legs.
:format(webp)/https://cdn.autonomous.ai/static/upload/images/product/image/smartdesk-2-home-1.1_16.36_17.1881_2.1980-1605846709554.jpg)
The PC
Last, but certainly not least is the PC I’m using for streaming. This section includes the keyboard, mouse, monitor, speakers, mouse pad, and all of the internal parts, including the processor, video card, and capture card that I’m currently using. Be prepared for LOTS of RGB lights.
FLOPAD RGB Large Mouse Pad ($29.99) – To protect my desktop surface from wear, I wanted a large mouse pad that could hold my devices, but also look cool. This one hits the mark. It’s got a dynamic LED strip around the entire edge, and lots of modes to suit your mood. Also, it’s HUGE. At 32″ wide, it’s actually a little wider than my desk.

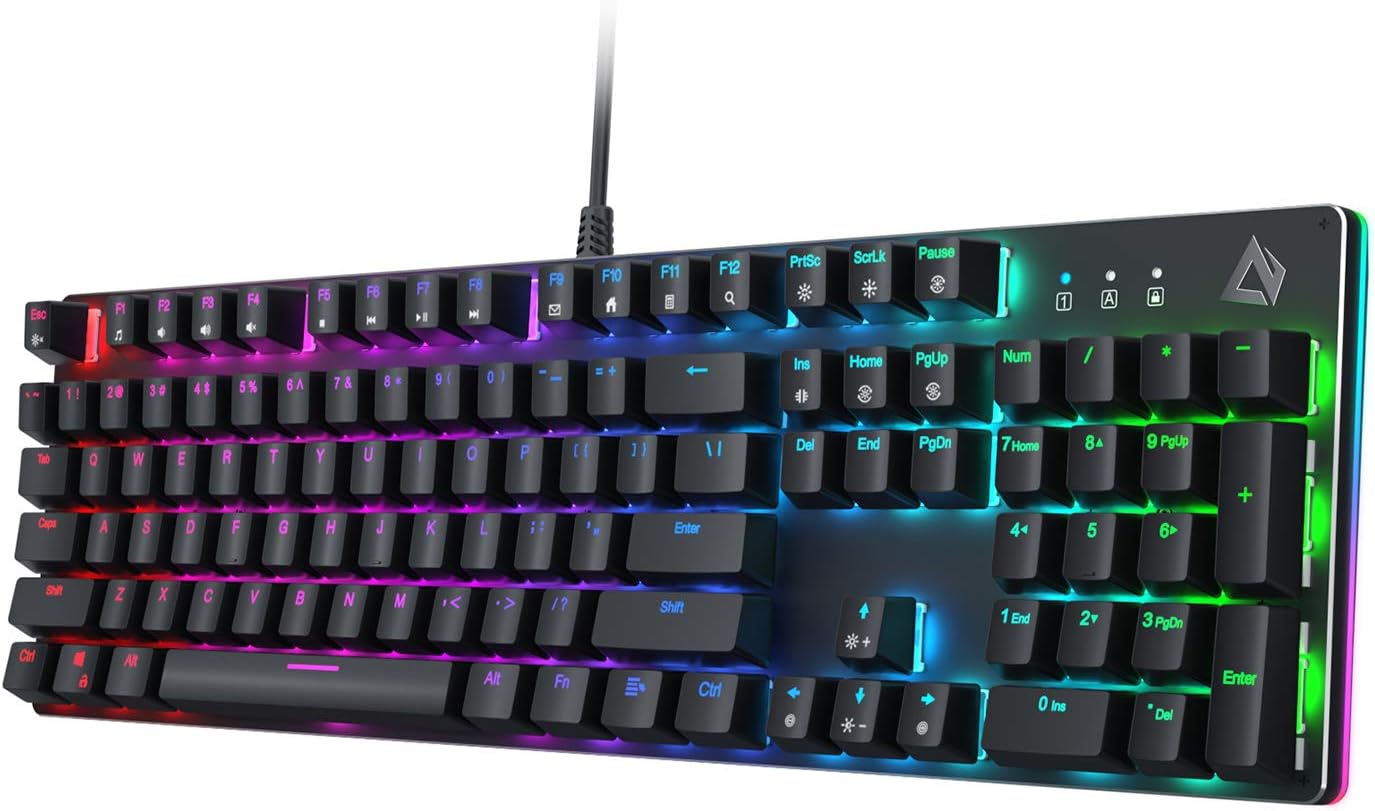
Aukey LED Mechanical Gaming Keyboard with Blue Switches ($69.99) – If you like that “clicky” sound from your keyboard, this will be a winner for you. A very satisfying click from a very colorful keyboard. Aukey really made a nice tool here, and the software for it gives you infinite control over how it illuminates. I absolutely love this keyboard.
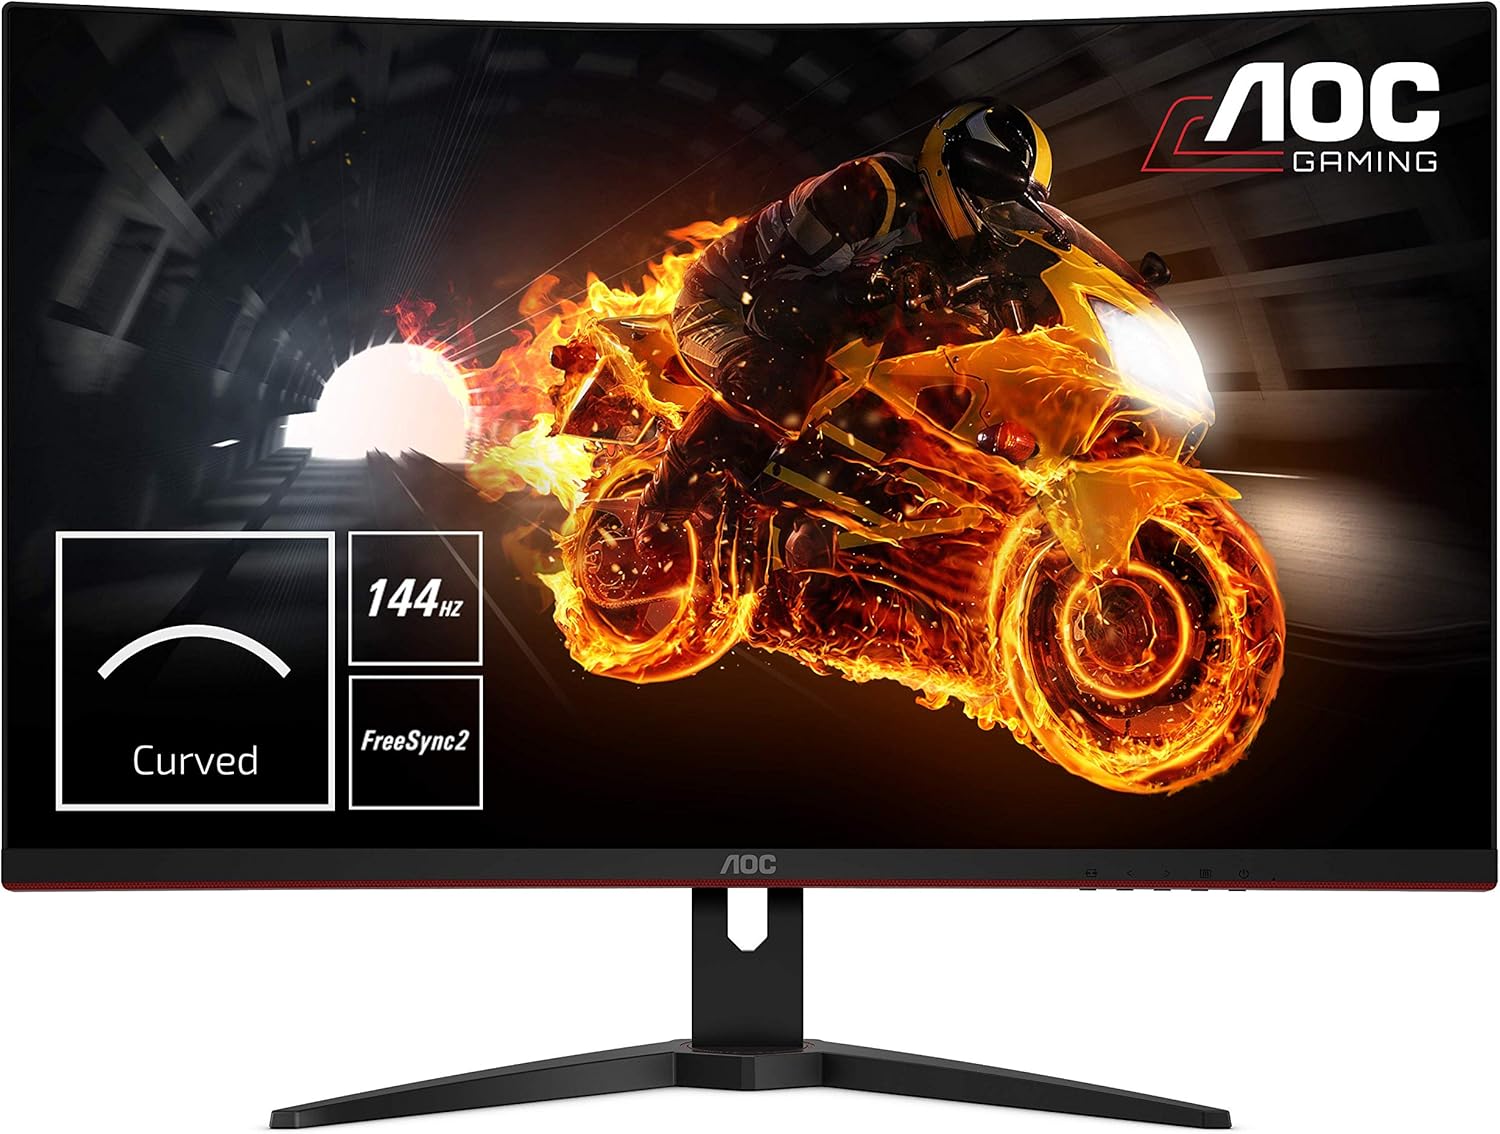
AOC CQ32G1 31.5″ Curved Frameless Monitor ($319) – Finding a curved monitor at this size that was also compatible with a VESA mount was more difficult than I expected. Several Samsung models appeared to work, but when they arrived, they didn’t have any mounting holes on the back of the monitor. This screen is huge, beautiful, and can handle everything I throw at it.
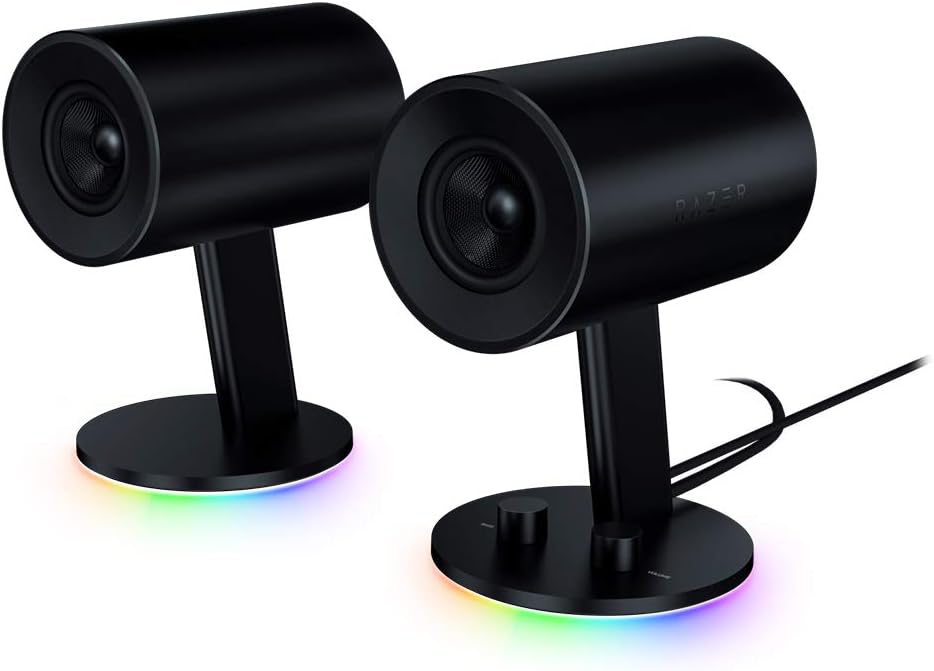
Razer Nommo Chroma Speakers ($149) – Initially, I got these for the LED rainbow glow underneath them, but these are also fantastic speakers. I have been asked to turn them down on a number of occasions, so I think they’re sufficient. They also connect via USB or 3.5mm audio cable, which is nice.
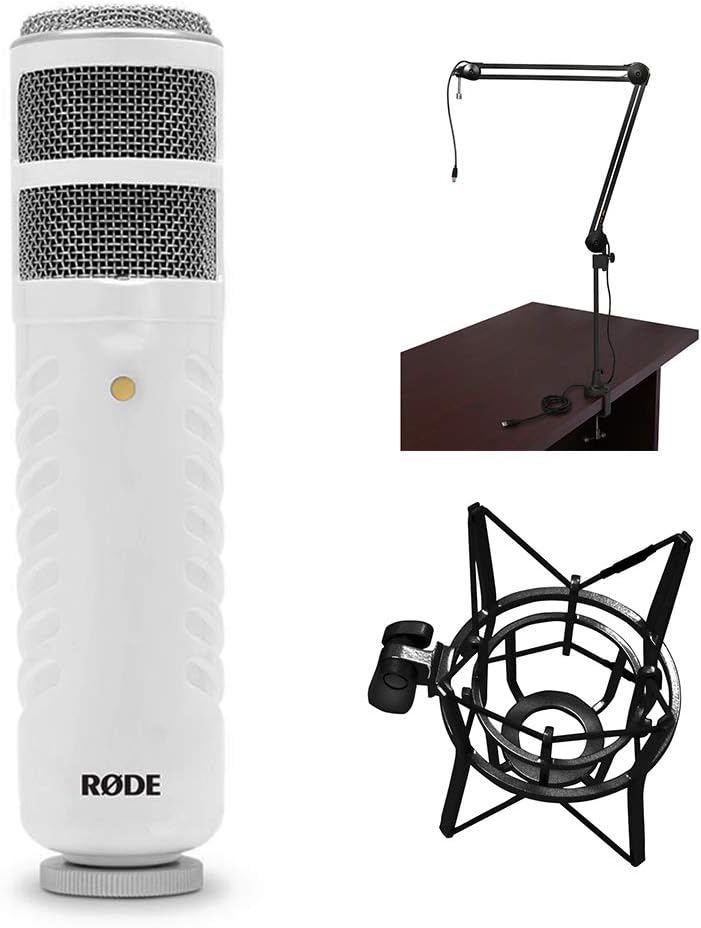
Rode Podcaster Studio Microphone ($299) – This microphone was one of my first purchases for this entire kit. You can actually get the microphone by itself for $229, but the boom arm and cage will prove invaluable to you almost immediately. Every time you touch your desk to type, or just to rest your elbows, a microphone sitting on that surface will get bumped and make a sound. By elevating the microphone into the air, and putting it in an elastic cage, you get the perfect serene sound of only your voice. It should also be noted this is a USB microphone, not an XLR. If you get an XLR microphone (which is what most every high end mic uses), you will also need an additional device to import that audio into your PC. A USB mic makes it just slightly easier, and still has a premium sound.
Glorious Model O Gaming Mouse ($98.75) – I’m a bit surprised by the price on this mouse, because I don’t remember spending close to $100 for it. That being said, it is absolutely the best mouse I have ever used. Incredibly responsive, great responsive clicks. Even the scroll wheel is satisfyingly good.

Lian Li Lancool II White ($84.99) – Never mind that I clearly love white devices with RGB lighting, this case won me over with its magnetic hinged doors. Nearly every other case I looked at used some kind of screw to hold the doors in place, and this one was brilliant enough to add hinges and magnets to make it super easy to open and modify. It also runs super quiet.

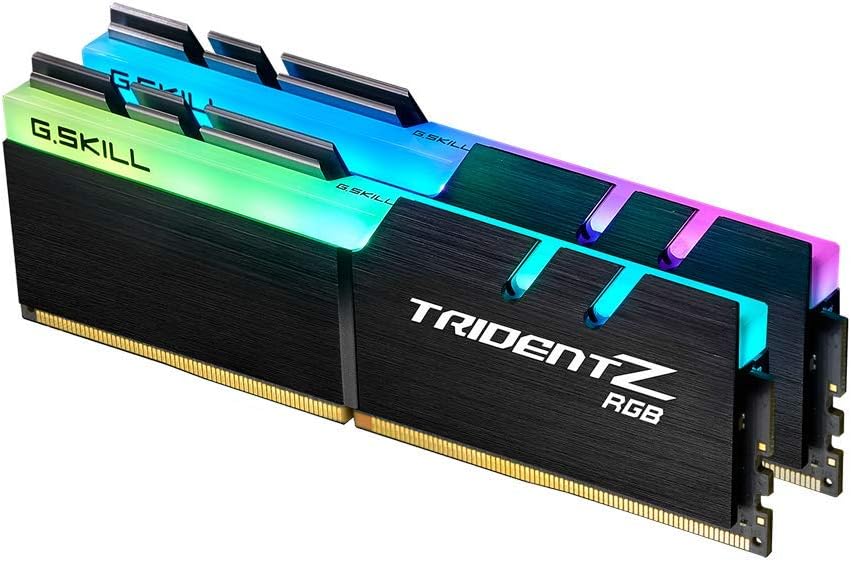
G.Skill TridentZ RGB Series 32GB DDR4 3200Mhz DIMM ($139) – I don’t really have much of a preference for brands of RAM, but these were pretty.
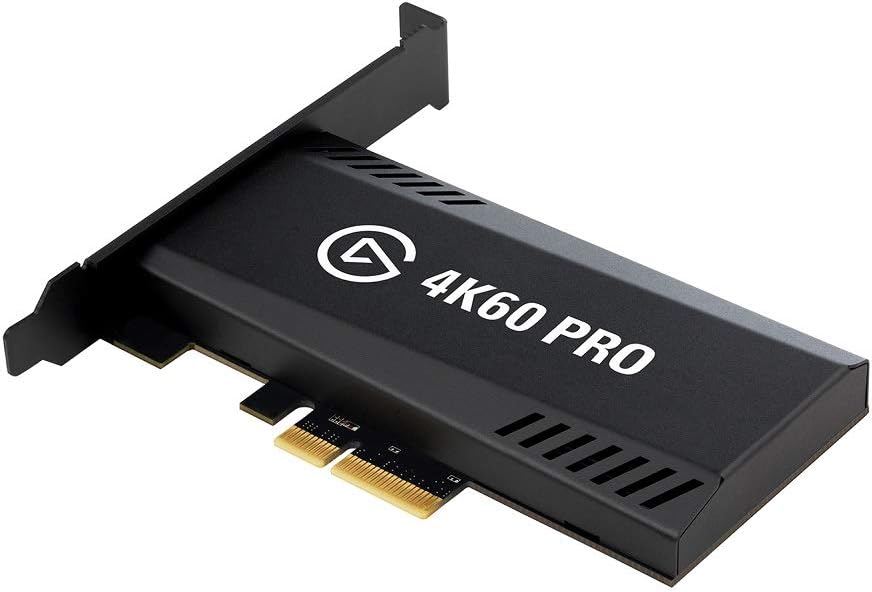
Elgato 4K60 Pro Capture Card ($235) – This fancy piece of hardware lives inside my PC, but its job is to capture the output of another HDMI device, like my MacBook Pro. This allows me to plug any device into the machine, and capture its output. There is also a non-4K version of this device, but it’s not significantly cheaper.
AMD Ryzen 7 5800x ($450) – The newest generation of processors are incredibly hard to find because flippers are buying literally ALL of them and selling them for 2x on places like eBay and Amazon. That being said, this is unquestionably the fastest machine I have ever used, for gaming, programming, or anything else. It’s remarkable.

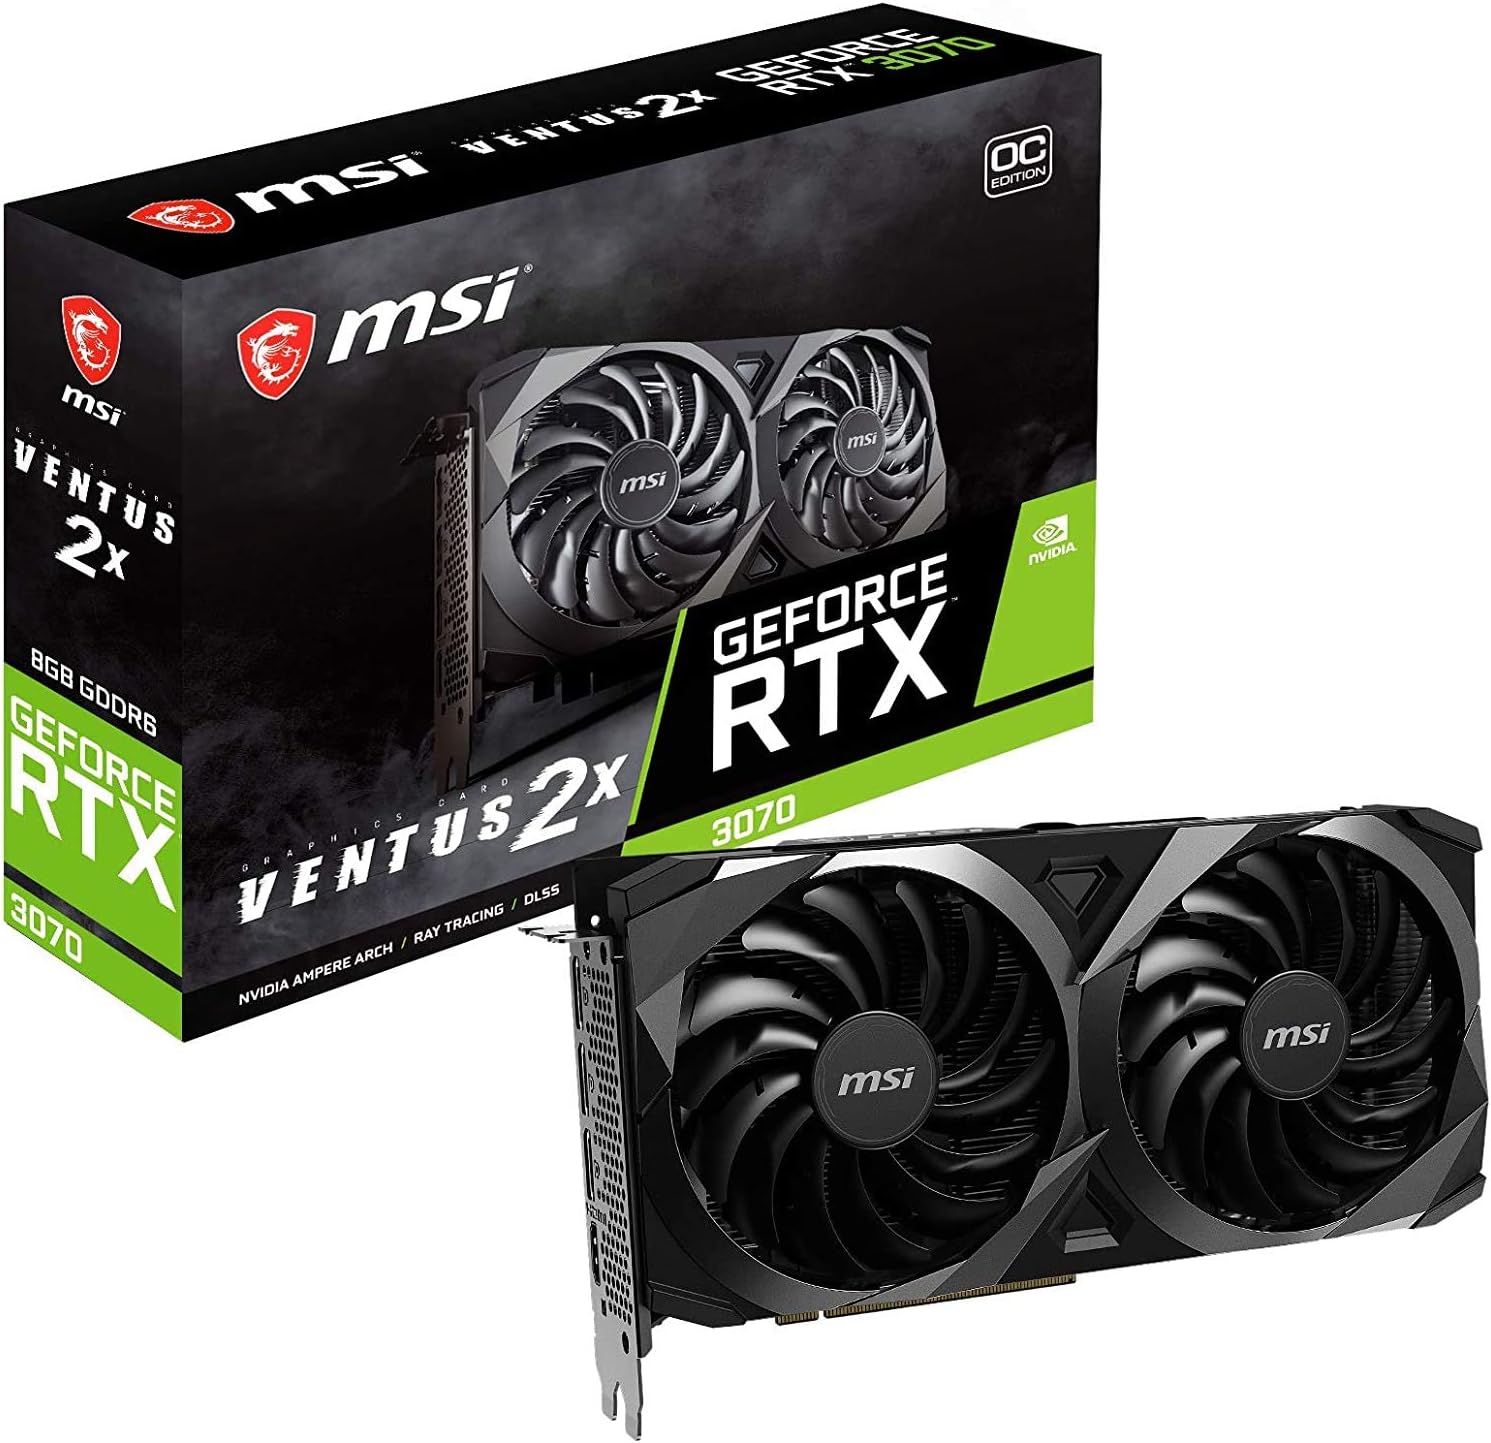
MSI GeForce RTX 3070 ($539) – Ah, the GPU. The card from where all of the graphical goodness flows. I know nothing about video cards, or tweaking performance, or any of that. I DO know that I can run every single game I own at full specs, though, so that’s cool.
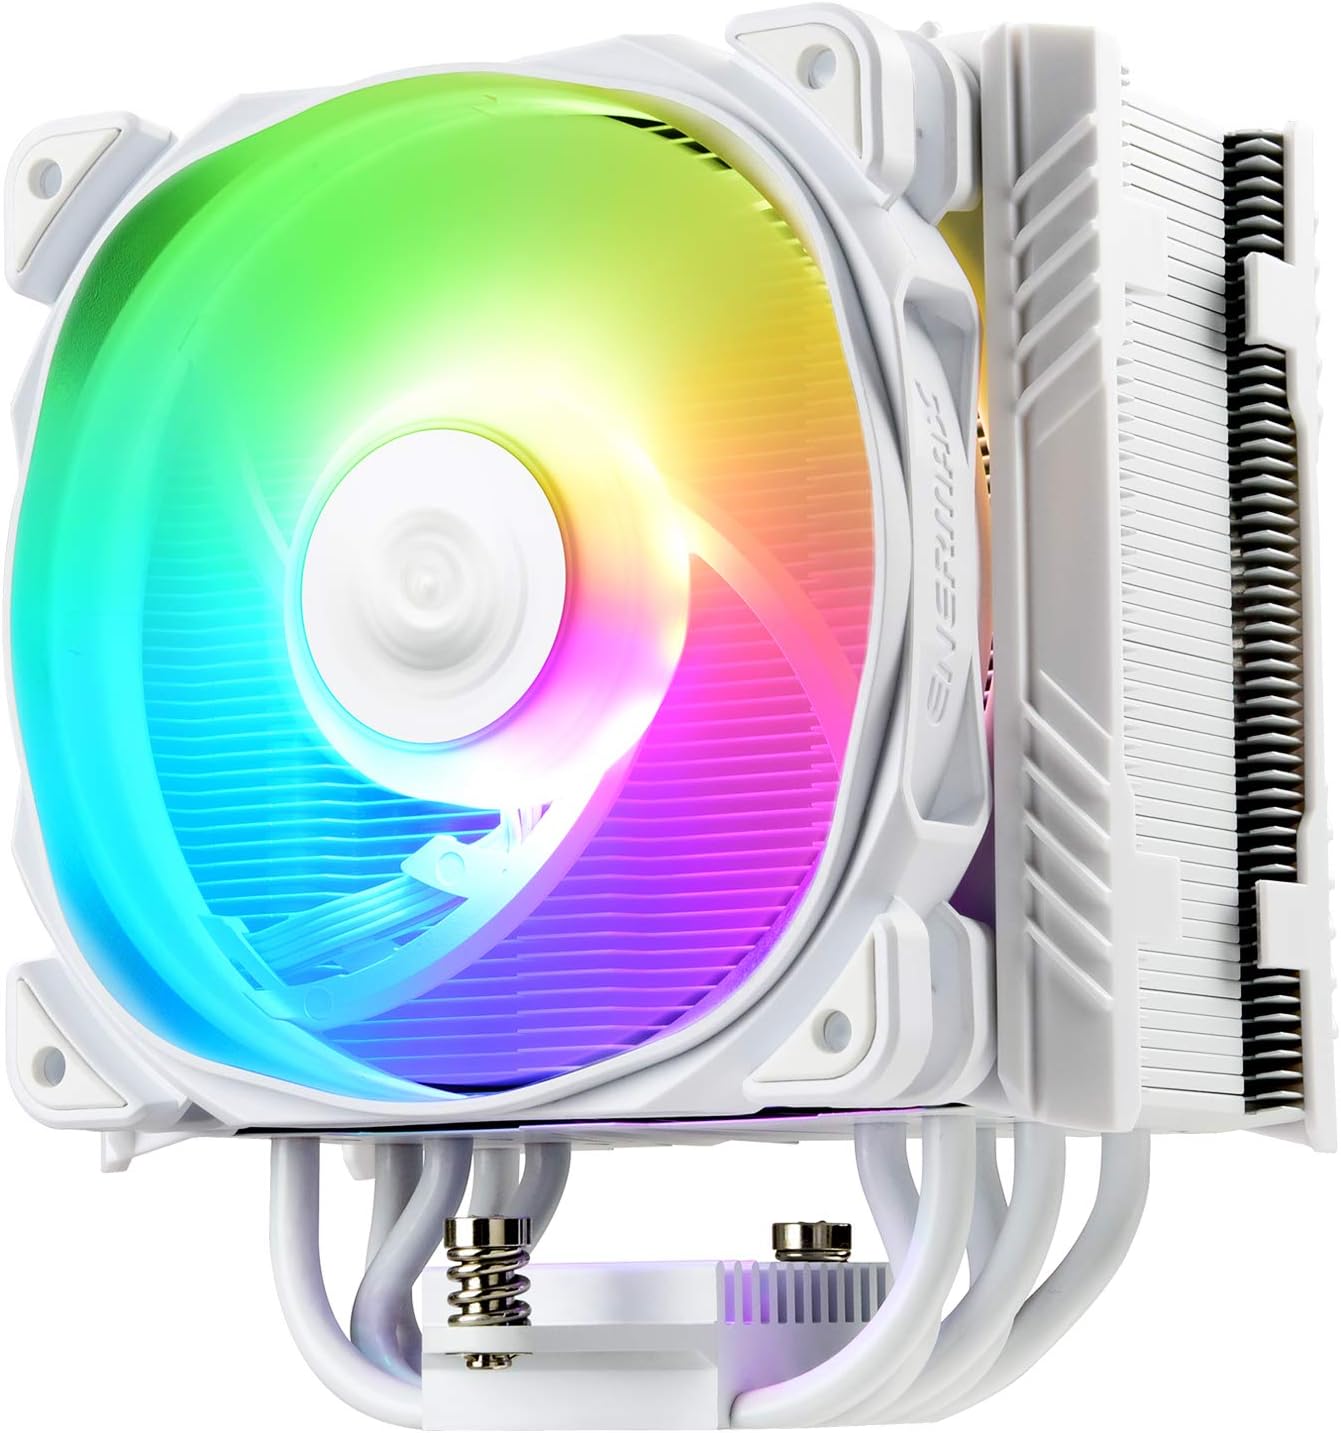
Enermax ETS-850 Air Cooling Fans ($65) – Another product I bought more for the look than the name, these white fans have more lights in them, and as such, were a winner in my book. They also run very quietly, however. My machine is practically silent.
The Backdrop
I actually get just as many questions about the items in my stream’s backdrop as I do about the hardware I stream with. So here’s a list of the items I have lighting up my background.

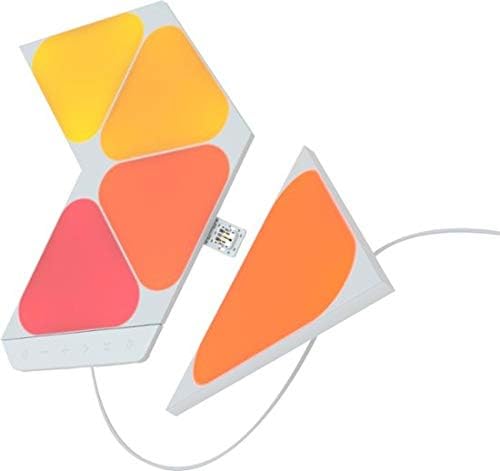
NanoLeaf Shapes – Mini Triangles Smarter Kit ($100) – NanoLeaf has a very solid product on their hands. These lights can be controlled by Alexa, but you can also toggle them to respond to music and sounds, and all sorts of different modes and colors. The beginner kit only comes with 5 triangles, but the expansion kit includes 10 more for the same price. They even have an online tool to decide what shape you want to configure them in!
LIFX Beam ($149) – First, these are sold out everywhere, and if they aren’t, they’re being sold at incredibly inflated prices. That being said, these are the highlight of my wall. They animate, can make millions of colors, and have tons of great pre-created themes to choose from. Alexa is capable of managing these lights at a far more granular level than most lights I’ve seen. Each set is one shelf in my setup, and as soon as they are back in stock, I’ll be picking up a third set for the top shelf.

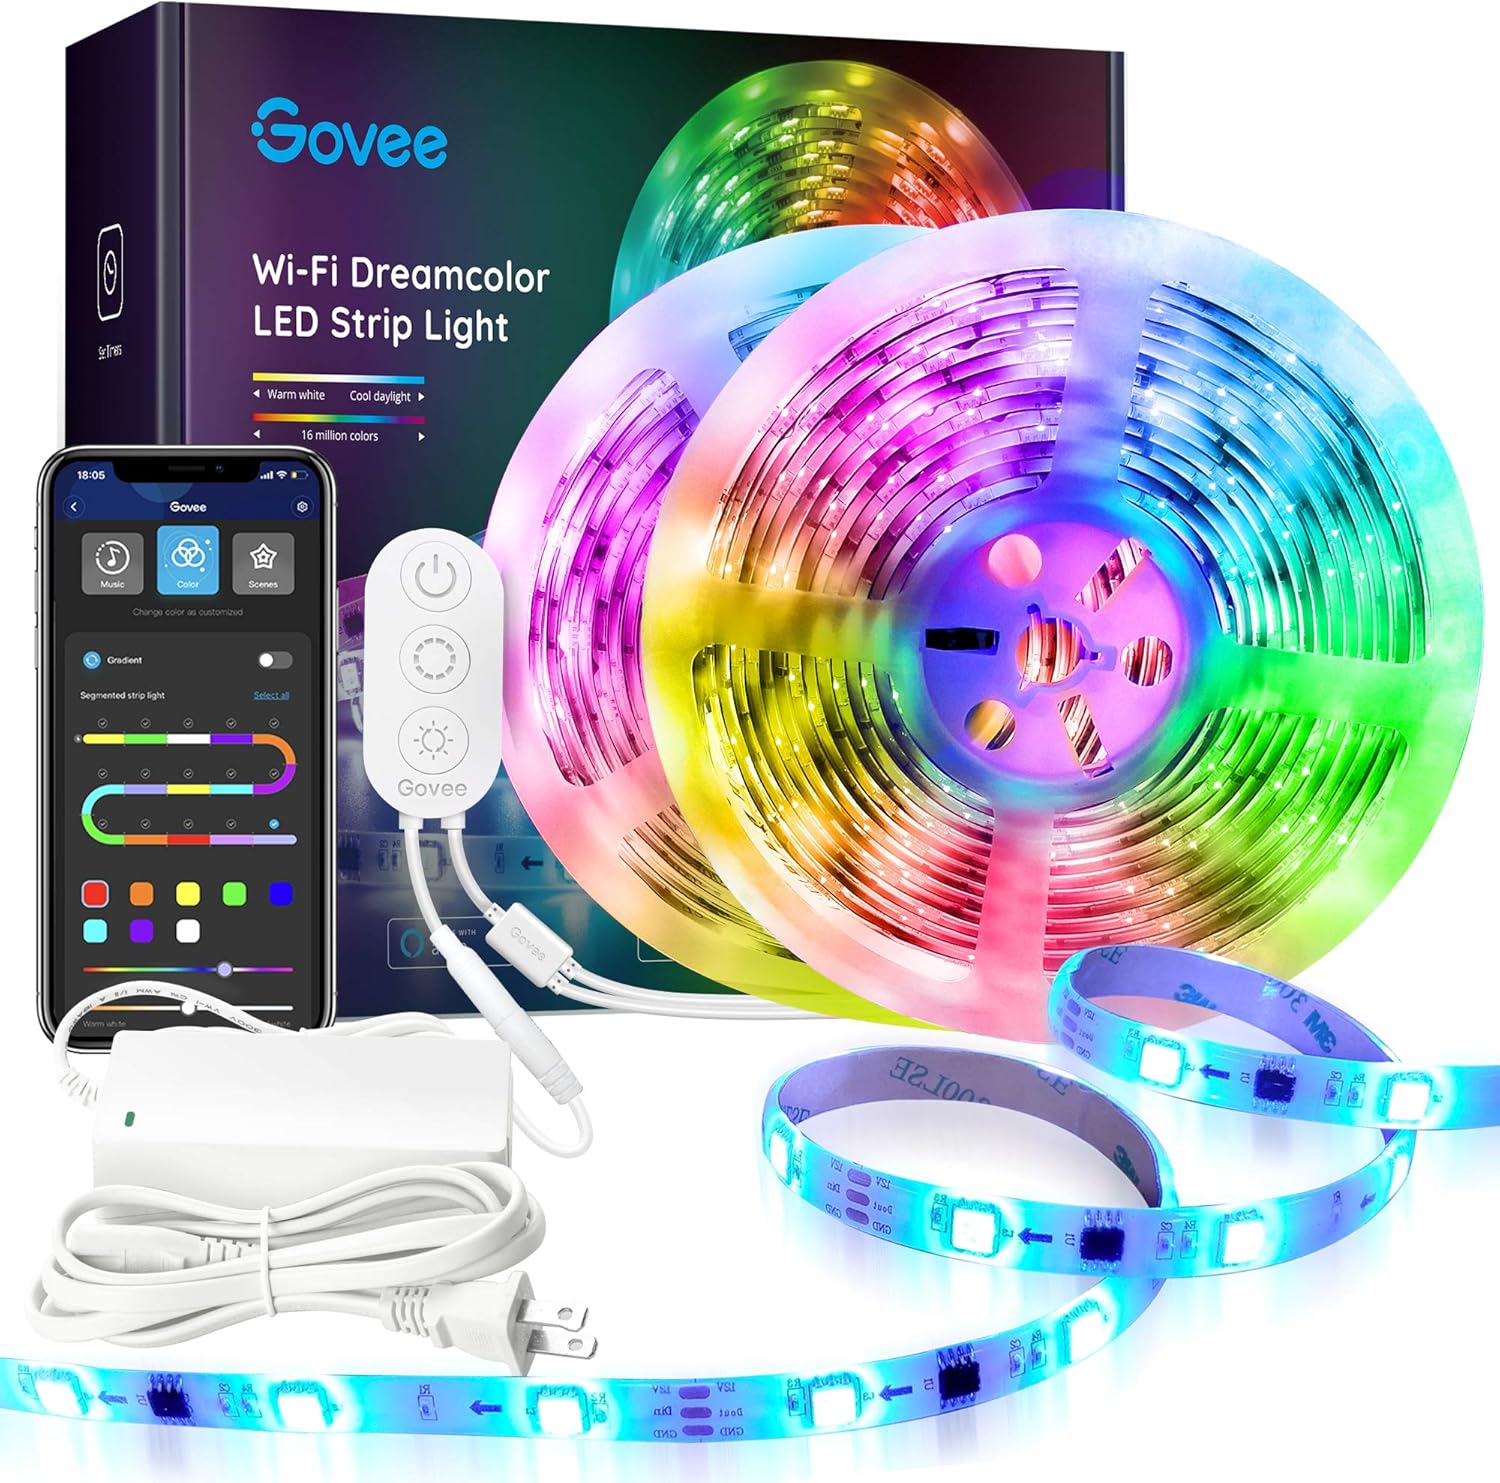
Govee Dreamcolor LED Light Strip ($49) – I have tried and sampled dozens of different types of LED strips, and these are hands-down the kings. Great app, lots of options, works with Alexa, responds to sounds and music. It also has the best adhesive of any LED strip I’ve found. I still recommend using these strip clips for mounting them, but the ones in my office aren’t clipped. Govee makes many different types of LED strips, so make sure the box actually says “Dreamcolor” on them or you might be buying something a little lower quality.
IKEA Bergshult / Granhult Combination ($59) – I have six total shelves holding all of those Funko Pop figures, and they’re just simple shelves from IKEA. The nickel hardware looks great, and reflects the lights quite well. They even offer a connector bracket to put two shelves next to each other.

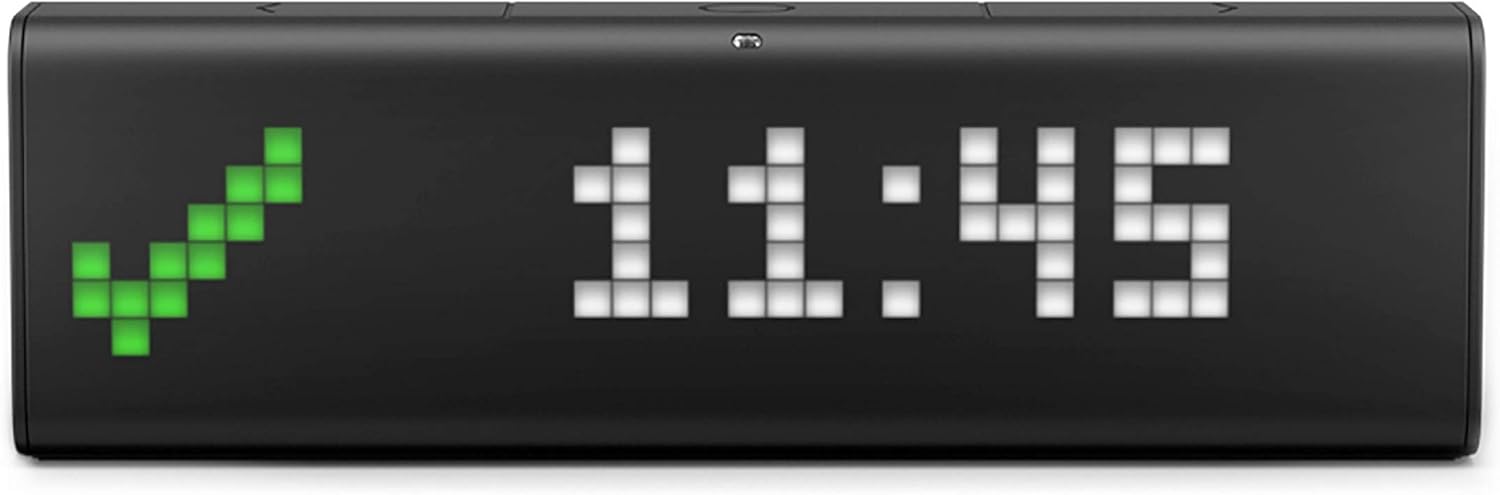
LaMetric Time Wi-Fi Clock ($199) – This is the dynamic little display that lives just over my left shoulder. It has lots of apps that you can configure for your social channels, and you can even create your own. Mine currently loops through stock prices, the date / time, my Twitch followers, TikTok followers, YouTube followers, GitHub followers, and Twitter followers. It’s a fun, dynamic device, but the price is a bit high.

Leave a comment